Parsnips are a fun root vegetable to grow and enjoy with meals. But I wanted to try and grow them as part of my container garden.
You can grow parsnips in containers that are at least 18 inches deep because the taproots can grow 12 to 5 inches long. You can choose to grow varieties that are limited to growing 15 inches long. Provide 8 hours of direct sunlight and 1 inch of water every week to the parsnip.
There’s a lot more that goes into growing parsnips in containers and I’ve written all the details you need to start growing some for yourself.
1. Choose the right parsnip variety
I’ve listed some of the parsnip varieties you may find useful for growing in your container garden.
| Name | Root length | Maturity |
| Hamburg Rooted | 8-10 inches | 85-90 days |
| Hollow Crown | 12-15 inches | 100-120 days |
| Harris Model | 12-15 inches | 110-120 days |
| All-American | 10-12 inches | 105 days |
| Albion | 12-15 inches | 120 days |
2. Find the best time to grow parsnips
Parsnips prefer the warm-season to grow well. It’s best to grow them when the temperature is between 50 to 75 degrees. Depending on the climate in your area, you may be able to grow them in spring or fall.
If the temperature is too low or too high, the plant will not grow well. If the parsnips have started to develop, they may crack when the weather becomes too hot.
They do take a long time to mature and the best time to harvest them would be in winter when they are hit by the first frost. It makes them retain more sugar so they become sweet.
If you have a short growing season, you can start seeds indoors but you need to be careful when transplanting. There is a big chance that the roots will misshapen after the transplant.
3. Figure out how long parsnips take to grow
The different varieties of parsnip can take 100-120 days from seeds to harvest. So you do need a bit of patience when growing this root vegetable. The seeds itself can take 2-3 weeks till they germinate in the potting soil.
The parsnip will be ready for harvest when the leaves start to dry out. Or you find that the roots have grown 3/4th inches in size.
4. Pick the right container to grow parsnips
Parsnips can have deep roots that could grow 12 inches long or maybe even more. That’s why you want to pick a container that is at least 18-24 inches deep.
If you want to grow several plants per container, you’ll need to pick one that is at least 24 inches wide. You need to keep the parsnips at least 6 inches apart from each other so they grow without competing for resources.
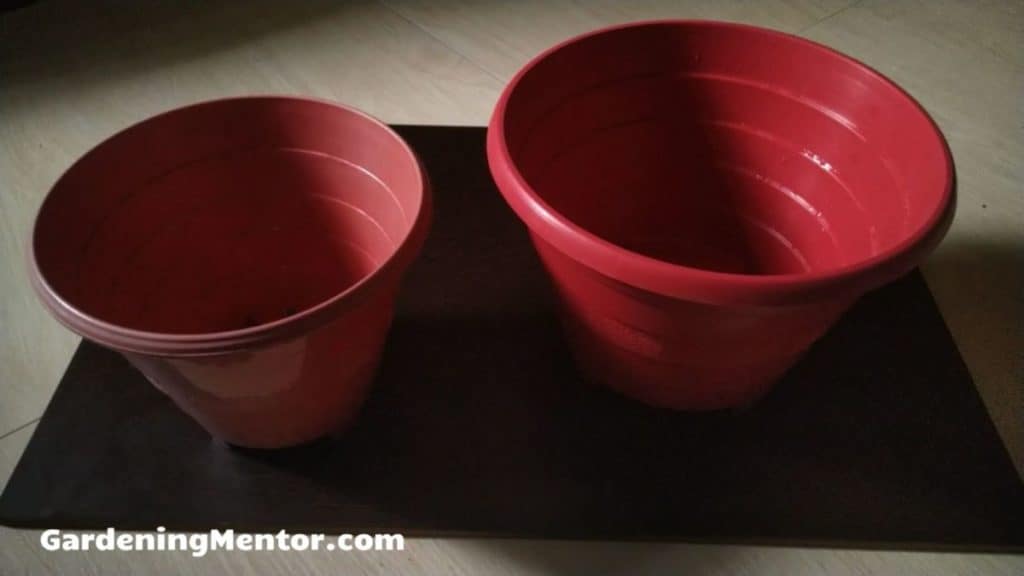
You can choose a container made from any material that pleases you such as plastic, terracotta, ceramic, metal, or concrete. I prefer plastic because it’s lightweight, durable, and inexpensive.

It also does not lose moisture as quickly as some of the other options which helps reduce the frequency of watering the plant.
Whatever container you choose, make sure it has drainage holes at the bottom. The drainage holes will help drain out the excess water and prevent the roots from getting infected with a fungal disease like root rot that will kill that plant.
5. Prepare the container for planting
Once you have purchased the container for planting the parsnips, you need to sterilize it. This helps get rid of unwanted pests and diseases that may be present in the container.
The easiest way to do this is to prepare a solution containing 1 part bleach and 9 parts water. You need to soak the container in this solution for an hour. Then rinse it well with water and dry it before use.
Make sure the container has drainage holes at the bottom to help drain out the excess water. This helps prevent the parsnips from rotting in the soil.
You can use a layer of newspaper to cover the drainage holes as you add potting soil to the container. This helps prevent the soil from falling out of the holes.
Make sure to use potting soil rather than soil from your garden as it may contain too much sand or clay. You need good potting soil that has a good texture to retain enough moisture and air for the roots.
The garden soil may also contain harmful pests, diseases, and chemicals that are not suitable for growing edible plants.
You can buy good potting soil from a garden center, nursery, or an online store. Or you can make some yourself by mixing 1 part perlite, 1 part vermiculite, and 1 part coco coir.
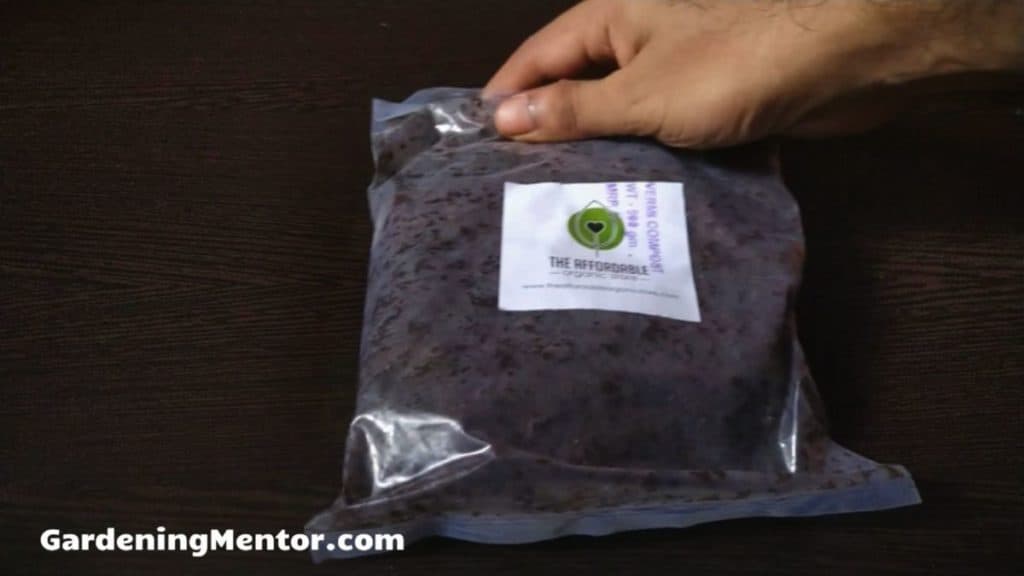
It would be good to add some organic compost to the potting soil if you have some. The compost will provide the nutrients and beneficial microorganisms to the potting soil.
Fill the container with potting soil but leave 2-3 inches from the top of the pot. This will help prevent the potting soil and water from spilling out of the container when watering.
6. Plant the parsnip in the container
If you have a long enough growing season, you can directly start the parsnip seeds in the container. But if the growing season is short, you may have to start seeds indoors.
You can buy the seeds from a nursery, garden center, or an online store. The parsnip seeds drop their germination rates the longer you store the seeds. So make sure not to use seeds that are older than 2 years in storage.
Before you can start planting the seeds, you can place them in a wet towel for 24 hours. This will give the seeds a better germination rate.
Starting seeds in the container
I like to sow the seeds directly in the container because this reduces the chances of damaging the seedlings when trying to transplant them later.
If you are planting multiple parsnips in one container, make sure to keep at least 6 inches between them. You can plant 2-3 seeds per location in the potting soil to increase the chances that at least one will germinate.
Push the seeds 1/4th inch into the potting soil and spray water on it to keep them moist. Make sure to give the potting soil the required moisture and sunlight every day. The parsnip seedlings will germinate after 2-3 weeks.
Starting seeds indoors
You can start seeds indoors in a seed starting tray and the process is similar to what I mentioned above. You can plant 2-3 seeds per tray to increase the chances that one of them will germinate.
Push the seeds 1/4th inch into the potting soil and keep it moist every day. Provide the required light to the seeds by placing the tray near a windowsill. And the seedlings will germinate after 2-3 weeks.
Once the seedlings have grown 3-4 inches tall, you can transplant them outdoors after hardening. This is the process where you keep the seedlings outside for a few hours every day so they get used to the conditions outside. After a week of hardening, you can transplant the seedlings to the container.
Make a hole in potting soil in the container sufficient to place the seedlings. Push the seedlings gently out of the tray. Place the roots in the hole and cover them up with potting soil. Water the soil well till the water drains out of the holes at the bottom.
7. Place the container in a suitable location
If you want to grow parsnips well in a container, you need to give them full sun. This means at least 6-8 hours of sun every day. If you grow them in shade, the growth will be stunted.
You need to also provide them a temperature between 50 to 75 degrees so they can grow well. If the heat is too little or too less, they will be stunted. And if the heat is too high, the parsnips may misshapen.
The benefit of growing parsnips in a container is you can move it around. So if it gets too hot you can move the container in shade. And if it gets too cold, you can move the container indoors or cover it with a row cover to keep things warm.
8. Water the parsnips in the container
You need to water the potting soil thoroughly when growing parsnips. They prefer that the soil is moist but not too soggy for the roots to grow well.
I suggest checking on your parsnip plants every day to see if they need a good watering. Stick your finger into the soil and try to see the moisture level 1-2 inches below the surface.
If the soil feels dry to the finger, you need to water the potting soil till it drains out from the drainage holes at the bottom of the container.
The deep watering ensures that the moisture reaches the bottom of the soil as well as the parsnips growing in it.
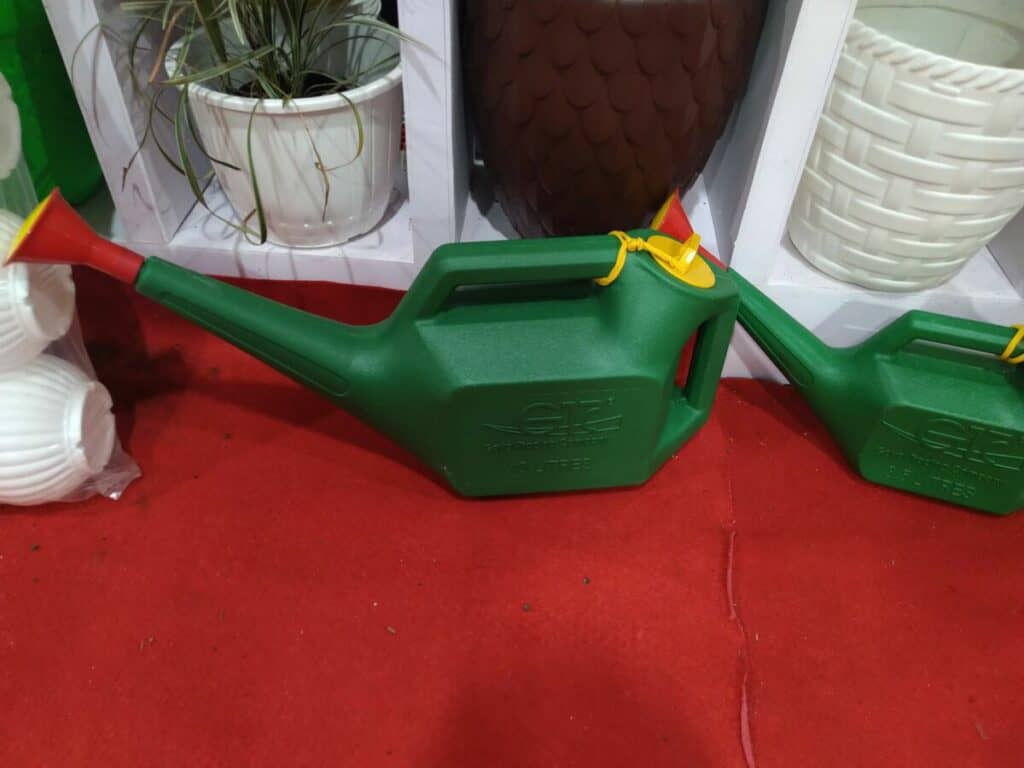
You can use a watering can to water the potting soil. If you have a lot of plants in your container garden, you could set up a drip irrigation system with a timer. This will help reduce your work when watering the plants.

You can also add mulch to the potting soil that will help retain moisture for a longer time. The mulch insulates the potting soil and does not allow the potting soil to dry out fast.
Mulch can be made from materials such as grass clippings, wood chips, dried leaves, straw, hay, or moss. Only add the mulch after the seedlings have germinated and grown a few inches. Otherwise, the mulch may smother the growth of the plant as it blocks the light.
The best time to water your parsnip plants is in the morning so the potting soil can absorb the required moisture. Any excess water on the foliage will evaporate once the sun comes out. This prevents creating humid conditions on the plant that increase the chances of fungal diseases attacking the plant.
9. Thin the unwanted parsnip seedlings
We planted 2-3 seeds per hole when planting the parsnips. This increases the possibility that at least one of the seedlings will germinate.
But after 2-3 weeks, it may happen, that more than one seedling has germinated. We then need to keep one and pull out the remaining from the potting soil. This is known as thinning.
If you allow several plants to grow together in the same spot, they will overcrowd each other competing for resources and nutrients.
You can either transplant each one to an individual container or you can thin them out and keep just one in the existing container.
It’s best to keep the seedling that looks the most healthy and pull out the remaining. You can add the pulled seedlings to your compost pile.
The best time to start thinning the seedlings is after they have grown 2-3 inches in height with a couple of leaves.
10. Add fertilizer to the parsnip plants
The best way to fertilize parsnips is to add compost when you’re preparing the container with the potting soil. The compost provides the required nutrients as the parsnip plant grows.
You can mix in a fresh batch of compost to the top of the potting soil every month during the growing season.

If you don’t have compost, you can mix in a slow-release granular fertilizer to the potting soil when preparing the container. This will release into the soil as you water it. And you can keep adding it to the potting soil every month.
You could also use a liquid fertilizer instead of a granular one. The advantage of using a liquid fertilizer is that it gives an instant boost of nutrients to the plant. You will typically need to dilute the liquid fertilizer with water and spray it on the plant every 2 weeks.
Regardless of the type of fertilizer you use, follow the instructions provided by the manufacturer on how much fertilizer you need to use and how often.
You can start with a balanced fertilizer having an N-P-K of 10-10-10 as the plant is growing. But as the root starts to develop, you can consider one that is low in nitrogen. This will help provide the nutrients for growing the roots and avoid the plant from focusing on growing more foliage.
11. Prune the parsnips in the container
Once the parsnip plants have grown several inches of foliage, you may find it beneficial to prune them. Pruning the foliage helps the plant focus its energy on developing the parsnips under the soil.
You should also prune the dead leaves and foliage that may occur as the plant grows. I would suggest using a bypass pruner to trim the foliage. Make sure to sterilize the pruner before using it on the plant to avoid any fungal or bacterial diseases affecting the plant.
Do not prune more than 1/3rd of the parsnip foliage at a time. This helps the plant have enough foliage to keep producing food and without facing stress.
12. Harvest parsnips from the containers
You can find out the time it will take for the parsnips to grow from the seed packets. This may be anywhere from 100 to 120 days depending on the parsnip variety.
The other way to figure out when the parsnips are ready for harvest is to check the size of the top of the crown. If it’s about an inch in diameter, you can harvest them. If it’s not clearly visible, you can move some potting soil away to check them.
You can always pick a couple of parsnips to test whether they are ready to harvest. I suggest the best time to pick them is when the first winter frost hits. They retain a lot more sugar when this happens and become much sweeter and crunchier.
To harvest the parsnips, clear the soil from the top of the parsnip. Then push it a bit into the soil and pull it out of the soil.
Only harvest the number of parsnips that you will consume for the 2-4 weeks. Let the remaining stay in the soil and you can harvest them in the coming weeks. The mulch and potting soil will keep them insulated and fresh.
When you harvest the parsnips, leave some of the foliage on top of them. Also do not wash the parsnips as soon as you harvest them. These steps will help keep the parsnips fresh for a longer time.
You can also wash and dry them before storing them in the refrigerator. And they can last you for several weeks of use.

Fact Checked, Written, and Published by Kevin Rodrigues
Kevin is the founder of Gardening Mentor, a website that aims to teach people to grow their own food in a limited space. As a self-taught gardener, Kevin has spent several years growing plants and creating gardening content on the website. He is certified in Home Horticulture and Organic Gardening from Oregon State University. He has a Post Graduate Diploma in Horticulture and Landscape Gardening from Mumbai University.
Read more
