Pumpkins are a delicious food that everyone loves whether in their meals or their lattes. I wanted to start growing this beautiful vegetable in my container garden.
You can grow pumpkins in a pot that is 24 inches deep and wide or at least 10 gallons. Provide the required support to the pumpkin vines using a trellis or stake. Give the plant the required moisture, nutrients, sunlight so pumpkins grow well.
There’s a little bit more effort growing pumpkins in a pot than other vegetables. I’ve written all the details below that will help make things easier for you.
1. Choose the right pumpkin variety
The biggest challenge you will face when growing pumpkins in a pot is the limited space they have. Pumpkins vines can grow several feet and need space to spread.
That’s why I suggest growing either a small or bush variety of pumpkin that is suitable to grow in a pot. You still need to use a pot that can hold at least 10-gallons of potting soil which should be just enough to grow them.
I’ve listed some of the varieties that you can consider growing in your container garden.
| Name | Type | Height | Maturity |
| Jack Be Little | Vine | 12-18 inches | 95 days |
| Baby Boo | Vine | 12-18 inches | 95 days |
| Baby Bear | Vine | 12-18 inches | 105 days |
| Small Sugar | Vine | 12-18 inches | 100-105 days |
| Cherokee Bush | Bush | 14-24 inches | 100-110 days |
2. Select the best time to plant pumpkins
Pumpkins are a warm-season plant so it’s best to grow them in spring/summer when the temperature is above 65 degrees Fahrenheit.
If the temperature is too low, the seeds won’t germinate. And if the seedlings are growing, the cold temperature will kill them.
The best time to plant pumpkin seeds is 2-3 weeks after the average last frost date of your area has passed. If you have a short growing season, you can start pumpkin seeds indoors.
Start seeds about 2-3 weeks before the last frost date of your area. So you can transplant them outdoors immediately when the climate becomes suitable for growing them.
You can also choose to buy seedlings from a garden center or nursery and save up on the time it takes to start seeds.
3. Find out how long pumpkins take to grow
Pumpkins can take about 90 to 120 days to grow depending on the variety. You need to make sure they get the required temperature during these days.
You should check the seed packets or seedling tags to find out the exact dates on when the pumpkins will be ready for harvest.
Several signs will indicate that the pumpkins can be harvested. One sign is that the tendrils will turn brown and dry.
Another sign is when the pumpkins have turned deep yellow in color. You can tap the pumpkin and if they make a hollow sound, it means they are ready for harvest.
4. Select the right pot size to grow pumpkins
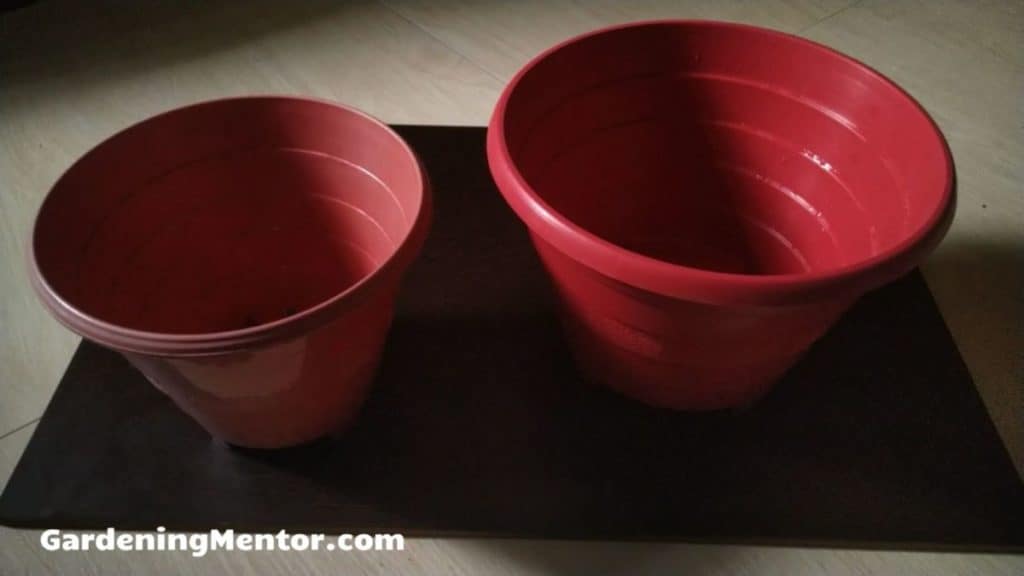
The pot you choose will determine whether the pumpkin plant grows well or not. I suggest choosing a pot that is 24 inches deep and wide.
It should be able to hold at least 10-gallons of potting soil to plant a small variety of pumpkin.
You can pick a pot made from any material like plastic, terracotta, ceramic, or metal. Just make sure that it’s durable enough to hold the weight of the plant and pumpkins.
I like to use a plastic pot to grow pumpkins because they can be durable, inexpensive, lightweight. The plastic pot also does not lose moisture as quickly as a material like terracotta.

Make sure the pot you choose has drainage holes at the bottom. This ensures that when you water the plant any excess water can drain out from these holes and protect the plant from root rot.
5. Prepare the pot for planting pumpkin plant
Now that you have got the right pot to grow your pumpkin plant, make sure it is sterilized before using it. This will help remove unwanted pests and diseases from the pot.
The simplest way to sterilize the pot is to soak it in a solution containing 1 part bleach and 9 parts water. Keep the pot in this solution for an hour and then rinse it well with water. You can dry the pot in the sun before using it.
Make sure the pot has drainage holes at the bottom so it can drain out the excess water. If there are no such holes, you should drill some.
Now you can start adding soil to the pot. But before that place some newspaper at the bottom of the pot. This helps prevent the soil from falling out of the drainage holes.
I recommend buying good potting soil instead of using garden soil. The garden soil can contain pests, diseases, and chemicals that will harm the pumpkin plant.
Even if it’s clean, the garden soil may contain too much sand or clay. This will not help create a suitable texture for growing a pumpkin plant.
You can make your own potting soil by mixing 1 part vermiculite, 1 part perlite, and 1 part coco coir. If you have compost, add some to this potting soil so the plant can get nutrients.
Fill the container with the potting soil till there’s a space of 2 inches left from the rim. This will prevent the soil from spilling out when watering.
6. Add support to the pot for pumpkin plant

If you’re growing the bush variety of pumpkins, you don’t need to worry about adding support. But if you’re growing the vine variety, you will need it.
The support will help the vines grow vertically and prevent the pumpkins from touching the soil. This will help the plant grow well and protect it from pests and diseases that are present in the soil.
The simplest way to provide support to the pumpkin plant is by using a trellis. You can make one yourself with a tomato cage, wooden stakes, and rope.
It’s best to place this trellis in the pot before you start planting the seeds. This helps prevent disturbing or damaging the plant and its roots.
Invert the tomato cage and place it in the pot. Tie the top of the tomato cage so it can form a teepee shape. You can then interweave the wooden stakes in the tomato cage.
And bury the lower end of the stakes in the potting soil. Make sure to use 2-4 stakes that you interweave through different sides of the tomato cage.
7. Plant the pumpkin seeds in the pot
You can get the pumpkin seeds from a nursery, garden center, or you can buy them online. I suggest planting the seeds directly in the pot if you can. That’s because the pumpkin roots are sensitive and don’t prefer to be disturbed.
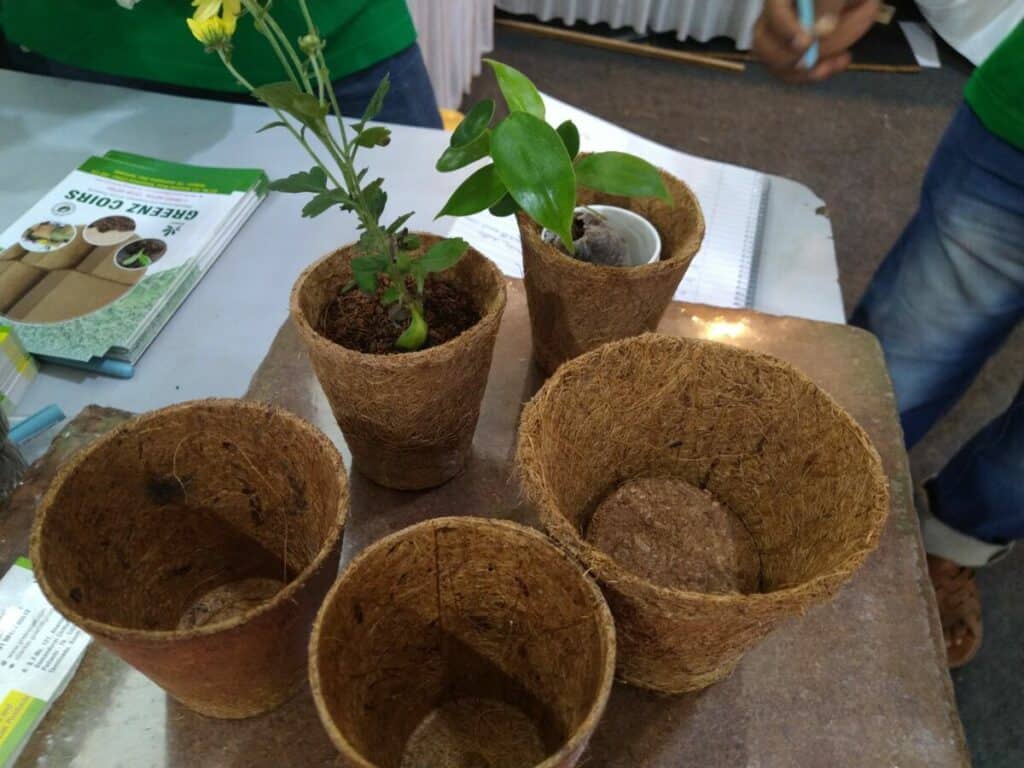
But if you have a short growing season, you will have to start the seeds indoors 2-3 weeks before the last frost date. I recommend using a peat pot to start seeds because you can transplant the peat pot itself in the larger pot without disturbing the roots.
Before you can plant the seeds, soak them in warm water for at least 8 hours. The pumpkin seeds are hard so you can also file along the long edge a bit. This helps the seeds germinate with ease.
Push the seeds in the pot about 1-inch deep. You need to spray water on the potting soil to keep it moist till the seeds can germinate. Make sure the seeds are getting at least 6-8 hours of full sunlight that will help them germinate.
The pumpkin seedlings will germinate after 8-10 days and you can continue providing the required water to the seedlings. After the seedlings have developed leaves and grown 2-4 inches, you can transplant them outdoors if grown in a peat pot.

The process is the same if you have bought the seedlings from a garden center. You want to make sure they are hardened before moving them outdoors.
Hardening is a process where you keep the seedlings outdoors for a few hours every day so they get used to the environment outside.
Keep doing this every day and the seedlings will have hardened after a week. Then you can make a hole in the potting soil and place the peat pot so the roots are covered. Water the potting soil well till the water drains out from the drainage holes at the bottom.
8. Place the pot in the right location
The pumpkin is a warm-season plant that will grow the best when you provide it full sun. This means you need to place the pot in a location that gets at least 6-8 hours of direct sunlight every day.
You do need to take care that the temperature does not get too hot for the plant. Otherwise, the leaves will start to wilt and the pumpkins will turn soft.
If you find the weather turning too hot, especially in the afternoon, you will need to move the pot to a location that gets a bit more shade.
If the pot is too heavy, you can consider placing it on a moving tray that will make it easier to move around in such situations.
9. Water the pumpkin plant in the pot
The most common problem when growing vegetables can be underwatering or overwatering. Both can cause your pumpkin plants to suffer.
Underwatering will stunt the growth of the plant and the pumpkins won’t grow. Overwatering will cause the roots to drown and invite fungal issues like root rot.
I have a simple method of figuring out when and how much to water your pumpkin plants. I like to water in the morning as it’s part of my inspection of the plants in the garden.
Stick your finger 1-2 inches in the potting soil to figure out the moisture in it. If the tip of your finger does not feel moist, it’s time to water the plant.
When you do water the potting soil, make sure to do it well. You want to keep watering the soil till the water flows out from the drainage holes at the bottom.
That’s an indication that the water has reached all areas of the potting soil. And the pumpkin plant roots can get the required moisture they need.
You can use a watering can to water the potting soil. Just make sure not to splash water on the foliage. Otherwise, it may create a humid environment that attracts fungal diseases.
You should also add a layer of mulch on the potting soil using materials like grass clippings, dried leaves, hay, or wood chips. The mulch will insulate the potting soil and keep it moist for a longer time.
10. Thin the pumpkin seedlings
When we plant the pumpkin seeds in the pot, we want to plant more than one. I suggest planting 2-3 seeds in the pot. So at least one of them will germinate.
But all of them may germinate and you are growing 2-3 seedlings in the pot. Once they grow to a certain height, they will start competing for nutrients.
That’s why it’s better to cut the unwanted ones off and just keep one per pot. This method is known as thinning.
You can choose to keep the seedling that looks the most healthy. Or pick one at random while you cut off the remaining ones. If you have a compost pile, you can put those seedlings in it.
You won’t have to worry about thinning if you purchased the seedlings from a garden center. They have already grown well and had a good chance of developing into strong plants that produce pumpkins.
11. Fertilize pumpkin plants in the pot
The best fertilizer you can add to your potting soil is compost. If you can get some good organic compost, mix it in the potting soil when preparing the container.
The compost will provide the nutrients to the pumpkin plant as it grows. It will also add beneficial microorganisms to the potting soil that improves its texture and further helps increasing nutrients.
You can continue to add a layer of compost to the potting soil every month as the pumpkin plant continues to grow.

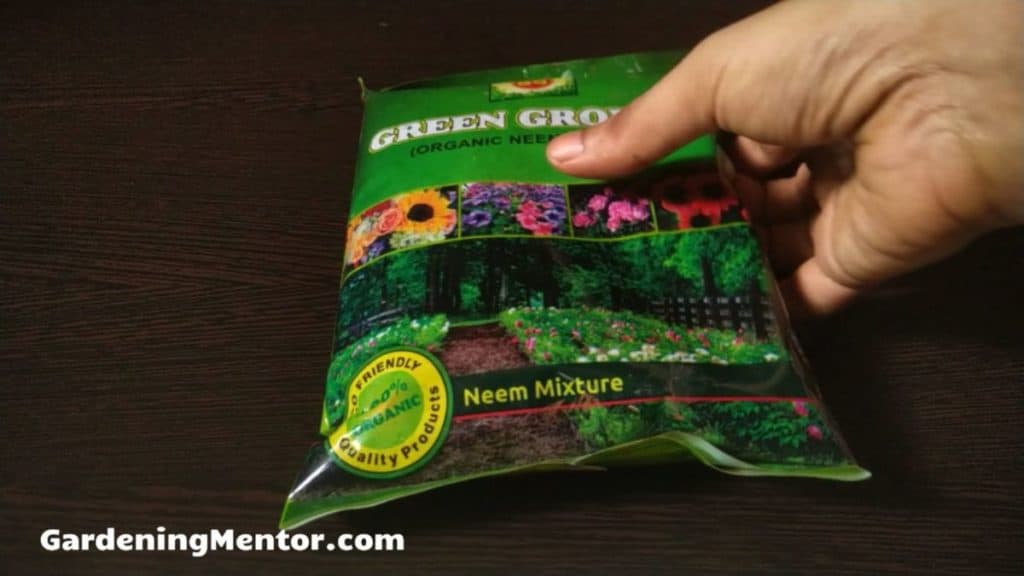
If you don’t have compost, the next best solution is to use organic fertilizer. You can mix a slow-release granular fertilizer into the potting soil when you prepare it. This fertilizer can be balanced so it could have an N-P-K of 10-10-10.
Once the seedlings have grown well, you can continue adding fertilizer every month to the potting soil. But it’s good to now start adding one with an N-P-K value of 5-10-10.
This means you want to add less nitrogen and more phosphorus and potassium. This will discourage the plant to grow too much foliage and help it focus on growing flowers and pumpkins.
You should follow the instructions provided by the fertilizer manufacturer when using it. You will get the right information about how much fertilizer to use and how often.
12. Pollinate pumpkin plants in the pot
The pumpkin plant can develop both male and female flowers. The male ones grow a week before the female ones do. And they are also a bit longer.
The best way to get your pumpkin flowers pollinated is with the help of beneficial insects like bees that visit your container garden. They do the work for you and make it easy.
You can grow some native plants and flowers in your garden to attract such beneficial insects.
But it may happen that these insects may not come to your garden. And then you will struggle to grow pumpkins. The good thing is you can hand-pollinate the flowers on pumpkin plants. Just make sure that the male and female flowers are fully open before you try to do this.
You can either pluck the male flower and pollinate the female flower. Or you can use a paintbrush to collect the pollen and spread them in the female flower.
Once you pluck the male flower, remove the petals so only the stamen is available. You can then brush the stamen in the stigma or opening of the female flower to pollinate them.
The other option is to gently use your paintbrush to collect pollen from the stamen of the male flower. Then use the paintbrush to apply the pollen on the stigma of the female flower.
13. Prune pumpkin plants in the pot
Pruning is an important step that will keep your pumpkin plants healthy and develop pumpkins. It’s a process where you cut off parts of the plant to encourage further growth.
The parts that you cut off could be dead and diseased leaves, branches, and pumpkins. It could also be that you cut off healthy parts of the plant.
As the seedlings start to develop into a healthy plant, you want to prune some of the leaves and branches. This will encourage the plant to grow more foliage.
When the plant reaches the flowering stage and you prune the foliage, it will encourage the plant to develop more flowers.
Once the plant is growing pumpkins, you want to check them and cut off any diseased or stunted pumpkins. This helps the plant focus its energy on the healthy pumpkins it wants to grow.
I suggest you check your pumpkin plant every morning to see if there are any unwanted parts you want to cut off. And you can prune the plant every couple of weeks to encourage more growth.
Just make sure that you don’t prune more than 1/3rd of the plant at a time. Otherwise, it will stress the plant and it may stop growing or even die.
Also, use a bypass pruner to do your pruning as this will keep the wound minimal. The plant will heal faster and this reduces the chances of getting infected with a disease.
14. Support the pumpkin plants in the pot
If you choose to grow a vine variety of pumpkin, you’ll need to provide support to the vine as well as the pumpkins. We already learned how to create a trellis using an inverted tomato cage, wooden stakes, and rope.
As the vine grows, you’ll have to intertwine the vine with the wooden stakes so they can grow in the vertical direction.
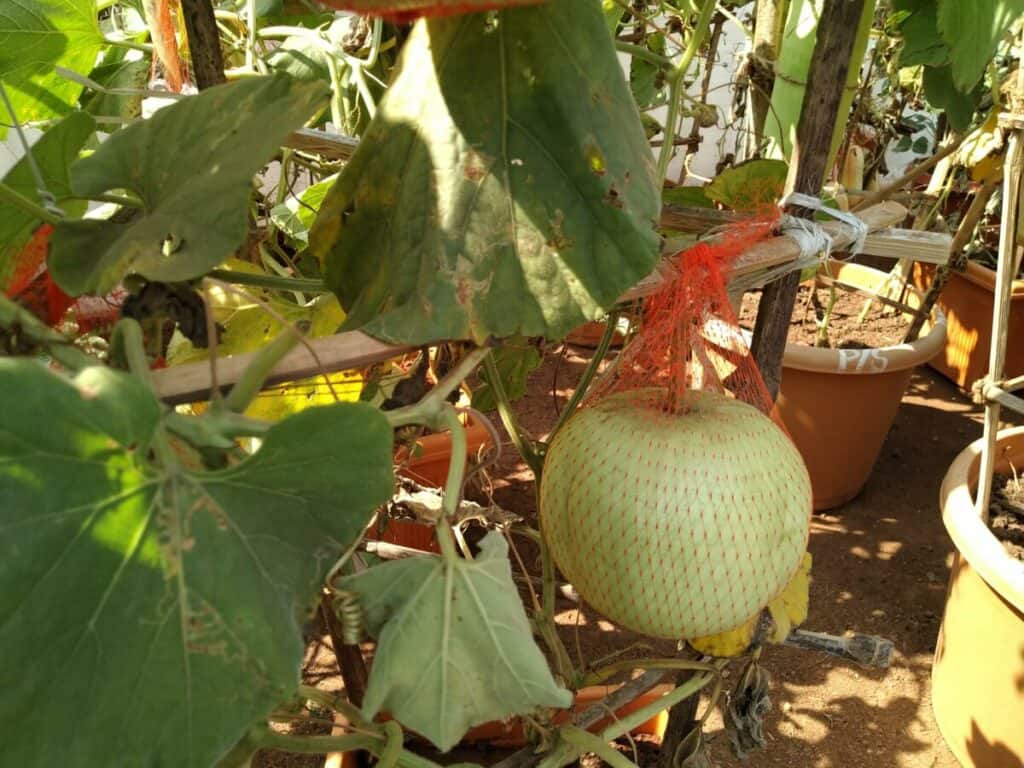
As the pumpkins start to develop, you want to avoid them touching the soil as this can cause pests and diseases to reach it. You can place the pumpkins on a shingle.
Or you can use a stretchy material like a T-shirt or a pantyhose to create a sling and place the pumpkin in that. Let the pumpkin grow in this sling till it is ready for harvest.
15. Harvest pumpkins from the pot
It’s best if you can harvest the pumpkins as soon as they are ready. There are different ways you can figure out when this happens.
The easiest is to check the pumpkin color that should have turned dark orange. You can tap the pumpkins and check if there is a hollow sound which means they are ready. The pumpkins will be firm to the touch instead of being squishy.
You can also check the tendrils near the pumpkins to see if they are dry and yellow or brown in color. This is also a good sign that the pumpkins are ready for harvest.
You can use a bypass pruner to cut the pumpkin from the vine. You should cut 2-4 inches of the stem that attaches the pumpkin to the vine.
This will help keep the pumpkin fresh and firm for a longer period of time. You can store the harvested pumpkin in a cool, dry, place where they can store for several months.

Fact Checked, Written, and Published by Kevin Rodrigues
Kevin is the founder of Gardening Mentor, a website that aims to teach people to grow their own food in a limited space. As a self-taught gardener, Kevin has spent several years growing plants and creating gardening content on the website. He is certified in Home Horticulture and Organic Gardening from Oregon State University. He has a Post Graduate Diploma in Horticulture and Landscape Gardening from Mumbai University.
Read more
