It’s fun to grow your garden but that can become tedious as you grow old. Gardening can be tough on the body with its chores.
You may need to lift heavy bags of compost, carry the watering can around. You may need to bend and stretch while taking care of your plants.
Does that mean you can no longer garden when you’re a senior? Of course not.
I’ll show you how you can use container gardening to keep enjoying your favorite activity of growing plants in the garden.
Senior citizens can start container gardening with a few potted plants for herbs, vegetables, and flowers. They can add more plants later as they get more comfortable. Seniors get the benefits of growing vegetables and staying active and healthy with container gardening.
What is container gardening?
Container gardening involves growing plants in containers (e.g., pots, small boxes, baskets, crates) instead of directly in the ground.
Container gardening is also a suitable method if the outdoor area does not have good soil. Or your outdoor space is covered with concrete.
This is a suitable gardening method if you don’t have much-growing space. You can grow such a container garden outdoors or inside your apartment. You could even have a balcony garden growing plants in minimal space.
Why is container gardening good for seniors?
Plants can be grown in limited space
The most significant problem seniors can have is their movements are limited. They cannot exert themselves too much working on a large garden as they used to in their younger days.
They cannot carry the heavy bags of soil or compost around the yard. They cannot be expected to walk around a large garden and water all the plants. And it’s hard to take care of pruning the plants, removing weeds, and harvesting fruits, vegetables, and flowers.
Container gardening is suitable because seniors can grow plants in minimal space. This means they don’t need to move around as much.
You can place the containers at a height to make it easy for them to tend to the plant. Activities like watering, pruning, and harvesting will become a lot easier.
Helps improve your physical condition
Container gardening will help improve the physical well-being of seniors. It’s not as taxing as working in a regular garden but you still need to do some work.
Adding potting soil, watering the plants when needed, pruning the foliage are activities you will need to do. This will improve the motor skills of seniors because it requires good hand-eye coordination.
The exercise will also help improve the seniors’ muscle and strength, which improves the quality of life and longevity.
When seniors work in their garden every morning, they will get a good dose of Vitamin D from the sunlight. This will improve their bone strength and reduce their chances of injury.
They will also have a lower chance of suffering heart disease, stroke, or cancer because of exercise, fresh air, and Vitamin D.
Improves your mental health
Container gardening can help improve the mental health of seniors suffering from stress, depression, and anxiety.
It can also help people who have Alzheimer’s disease or dementia to keep their minds active when working on the plants.
It’s also great for people recovering from surgery, chemotherapy treatment, or other medical conditions. It will help keep them positive, stress-free, and happy working on their plants and improve their recovery.
Gardening can help seniors reduce loneliness and depression and act as a social activity, especially for home-bound people. Seniors can meet with other gardeners and discuss their plants and gardening in general.
Helps you grow healthy, organic food
One of the best things about container gardening is you can grow your own food even in a limited space.
You can grow almost any vegetable in a container that you would in an in-ground or raised bed garden. You can grow tomatoes, peppers, lettuce, spinach, carrots, and beans, to name a few.
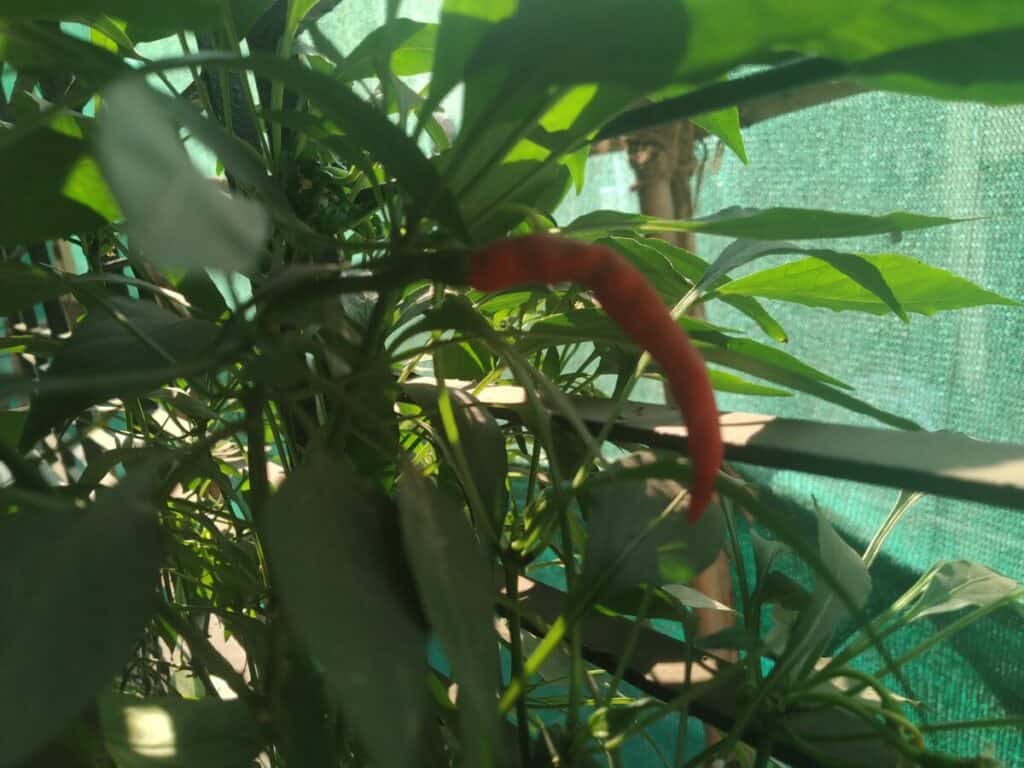
You can even grow herbs like basil, parsley, or oregano so you can get fresh herbs throughout the year.
These home-grown foods have a much higher concentration of nutrients because they are grown without synthetic chemicals and pesticides.
This can be a fun hobby for seniors to try and grow their own food. They can get healthy, organic food as a result. This will help them eat more organic vegetables and stay healthy longer.
1. Take precautions when gardening as a senior
Container gardening requires less exertion than regular gardening but seniors still need to take a few precautions.
Choose a safe location for your container garden
You can decide whether you want your container garden indoors or outdoors. Both have their own benefits and drawbacks when it comes to safety.
If you have your container garden indoors, you have the safety and comfort of your house. If you grow them outdoors, you need to make sure the surface is even so you don’t trip and fall.
If you grow your container garden indoors, you need to provide enough light to the plants. You need to keep them near a window or provide artificial lighting.
The growth of the plants is directly dependent on the amount of light they receive so you need to make sure you provide enough.
If you plant the container garden outdoors, you don’t need to worry about lack of sunlight as long as you make sure the plants are in a good location.
Make sure that the container garden is close to a location that has a water source. You should be able to water the plants without having to carry a watering can for a long distance and risk falling.
Wear the right clothing when gardening
You want to cover yourself when working in the garden so you’re protected from harsh sunlight. You can wear a long-sleeved shirt, long pants, and a hat for protection. Wear loose-fitting clothing so that sweat does not make you uncomfortable.
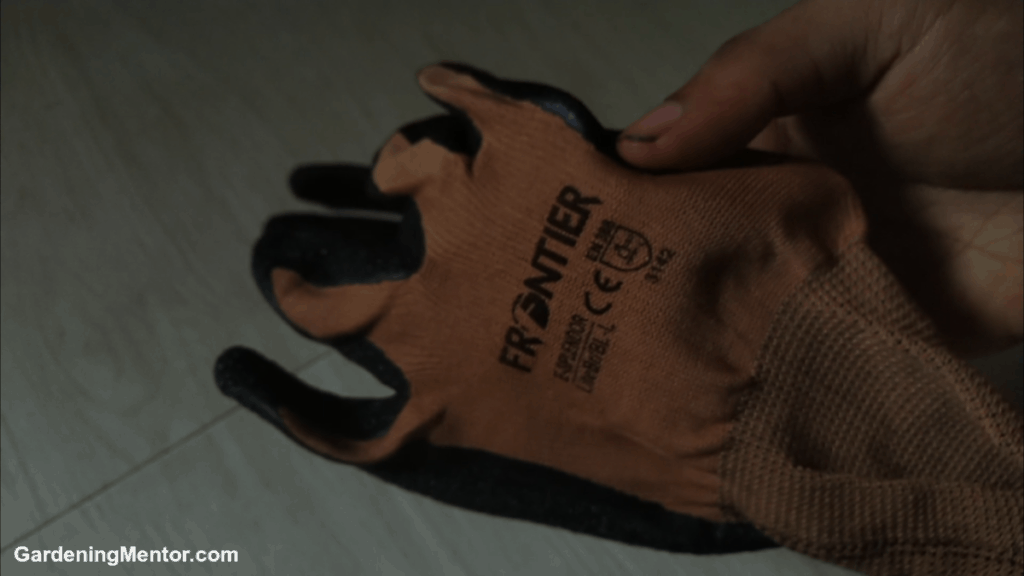
Make sure to wear gardening gloves so your hands are protected from rough or sharp gardening tools. They will also protect you from dirt and scratches from the plants.
Wear shoes that are comfortable to move around for a little while in your container garden.
Wear a sunscreen that protects against UVA and UVB rays, especially if gardening in direct sunlight
| Gardening Hats | Gardening Gloves | Sunscreen |
| GearTop Hat | Pine Tree Gloves | EltaMD Sunscreen |
| Einkskey Hat | Posh Gloves | Sun Bum Sunscreen |
| Columbia Hat | FZTEY Gloves | Neutrogena Sunscreen |
Avoid heavy work and ask for help
You want to keep your container garden small and manageable as a senior. You don’t want large, heavy containers that are difficult to move around. It’s better to grow several plants in small containers rather than one in a large one.
There may be times when you need help moving your plants around or bringing in bags of potting soil or compost. Don’t hesitate to ask for help and avoid the risk of injuring yourself.
Call on your family, friends, or neighbors to help you in such times.
I would suggest using self-watering containers or drip irrigation to water your plants. This will help save the effort of carrying around a heavy watering can.
Maintain good posture when gardening
Sometimes we become so engrossed in gardening work that we forget to correct our posture. You need to be careful when bending to pick up plant debris fallen on the ground. Bending over in this manner is hard on the back and may lead to disc problems.
I would recommend using a broom with a long handle to clean up debris rather than bending over. When leaf debris is piled up, you can ask someone to help lift them and put it in the garbage bin.
When you need to prune foliage from the plants, make sure to use pruners that are ergonomic and easy on your hands. Hold them at the correct angle so you don’t hurt your wrist during the pruning.
Use the right tools that are comfortable
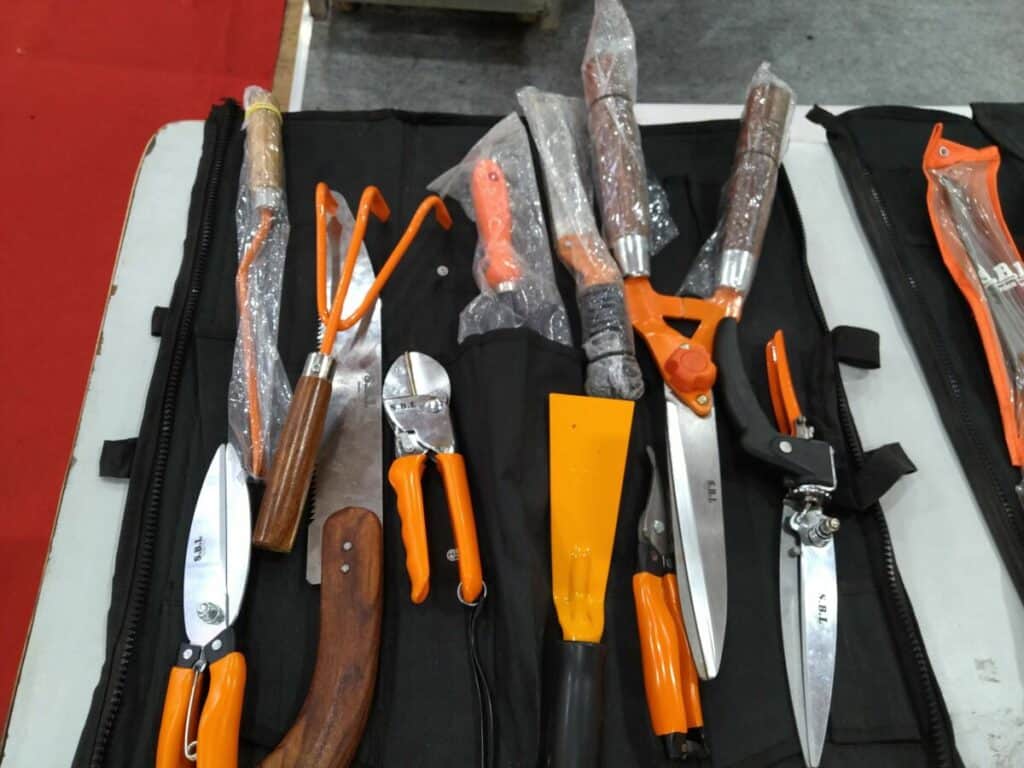
There can be many tools such as hoes, rakes, trowels used in gardening. But for container gardening, you don’t need many tools. That’s what makes it quite suited for seniors.
You just need a few tools and those are not heavy to use. You already know you need a good pair of gardening gloves when working on your plants.
A trowel may be useful to dig into the potting soil when you want to fluff it up. Or you may want to add some fertilizer. It’s also useful if you want to check the condition of the plant’s roots.
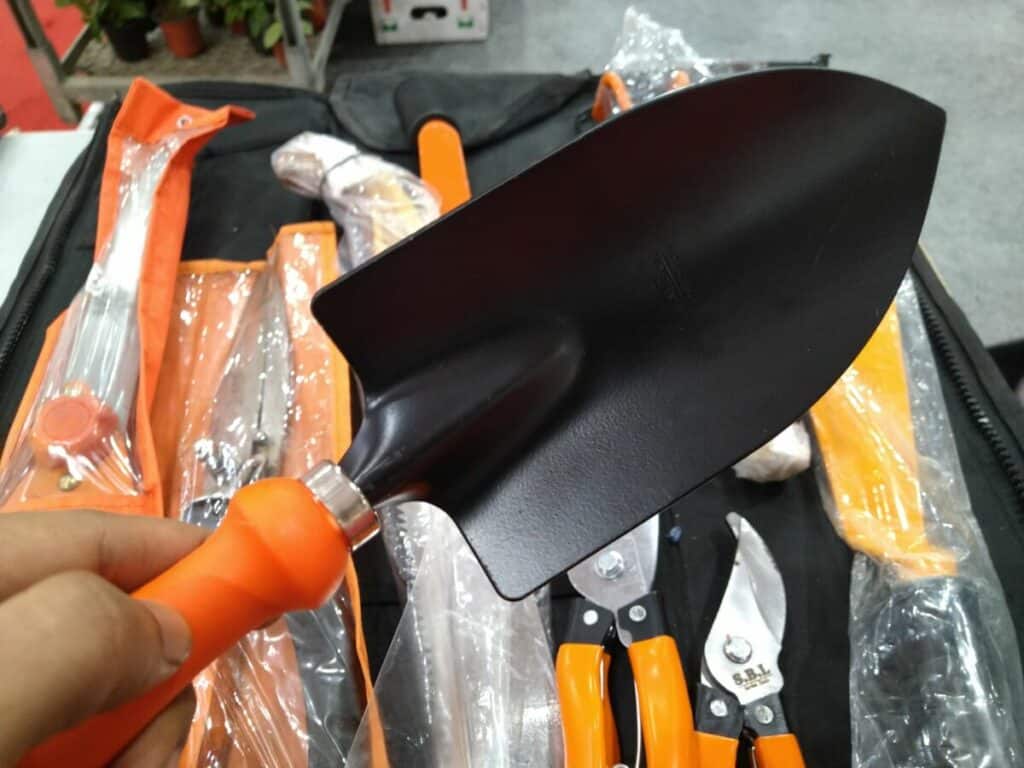
A bypass pruner will come in handy when you want to prune the leaves and branches of your plants. Pick an ergonomic one that is gentle on your hands. If you have arthritis, you can pick a pruner specially made to give comfort to such hands.
I don’t recommend you use a garden hose for watering your plants because they can be heavy. You do get a lightweight garden hose but it will still take effort to move around your container garden.
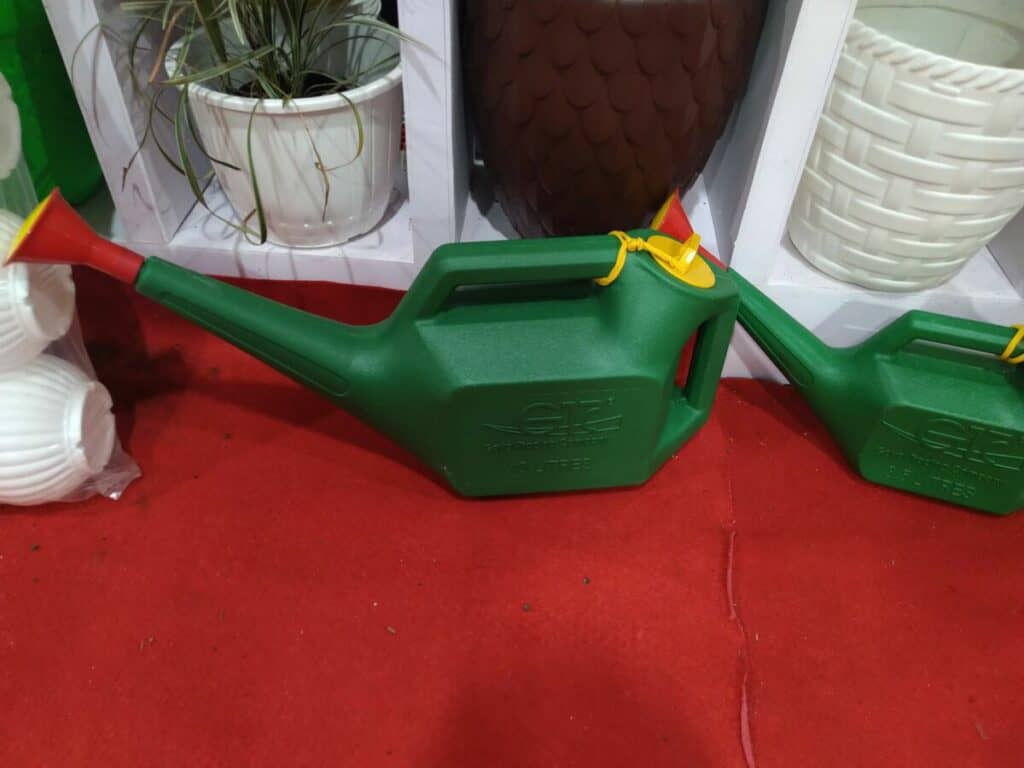
It’s much easier to use a small watering can to water your plants. It’s even better to use drip irrigation so that you don’t even need to water the plants on your own.
Keep a phone with emergency numbers
You must keep a cellphone with emergency numbers on you at all times. Container gardening needs much less effort than traditional gardening but you still need to be working on your plants.
Accidents can happen that can cause you to trip and fall. Or you may get a heat stroke from the sun. These things are more likely to happen because gardening can be a tiring activity and you may be less attentive to your surroundings.
So always keep the cellphone with you and reprogram the numbers of your family to be available in case of any such emergencies.
Avoid working in intense sunlight
The plants in your container garden will need plenty of sunlight depending on the type of plant. But you need to be careful not to spend too much time in intense sunlight, which may cause heatstroke.
I have suggested you wear sunscreen to protect yourself from the UV rays of the sun. But you should also protect your body from the heat.
I recommend working on your garden either in the morning or evening. You can choose a time before 10 am or after 4 pm when the sunlight is not that intense.
Take a break when you’re tired
Gardening is a fun activity and you can get engrossed working on your container garden. You may not notice how time flies when doing this activity.
The problem is that you may not realize your body needs a break as a senior after these activities. So remember to take a break after 15-20 minutes of work whether you feel tired or not.
Keep a chair near your container garden so you can relax for a few minutes after working in your garden. Drink plenty of water to stay hydrated especially when working under the sun.
2. Pick the right type of container gardening as a senior
There are three types of container gardening you can choose from: outdoor container gardening, growing houseplants indoors, and kitchen herb gardening.
Outdoor container gardening
This is traditional container gardening where you can grow almost any plant in a container outside.
You pick a location near your house that gets plenty of sunlight and start growing plants in containers. This could be your patio, driveway, or balcony where you grow plants.
The benefit of outdoor container gardening is you can grow any type of plant including food. The plants can get plenty of sunlight and growing space. They may also get some water when it rains.
The disadvantage as a senior is that you need to go out of your house to tend to the container garden. You need to work under the sun which helps you get vitamin D, but it also can make it a bit hot.
Growing houseplants indoors
You can have your container garden indoors as well but you’re limited in the type of plants you can grow.
It’s difficult to grow your own food with plants such as tomatoes, cucumbers, and carrots indoors. They need a lot of light and heat to grow well.
You can use artificial lighting and heating to grow them but it’s a lot of effort that I don’t recommend you take as a senior.
The best type of plants to grow indoors is houseplants because many are hardy and require low light and heat. Some such plants include spider plant, jade, snake plant, and peace lily.
Kitchen herb gardening
You can grow some herbs indoors with ease even if you don’t have much space. The benefit of growing them in the kitchen is you have them ready for use when preparing your food.
I would suggest growing the herbs in small containers that you can place near a windowsill in your kitchen. This will help them get the required sunlight but still be manageable in a small container.
The good thing about kitchen gardening is you have these small containers that are easy to maintain. The herbs will make your kitchen look attractive and provide plenty of fragrance.
3. Plan a suitable container garden for seniors
Now that you have picked the right type of container gardening suitable for you, it’s time to plan the garden.
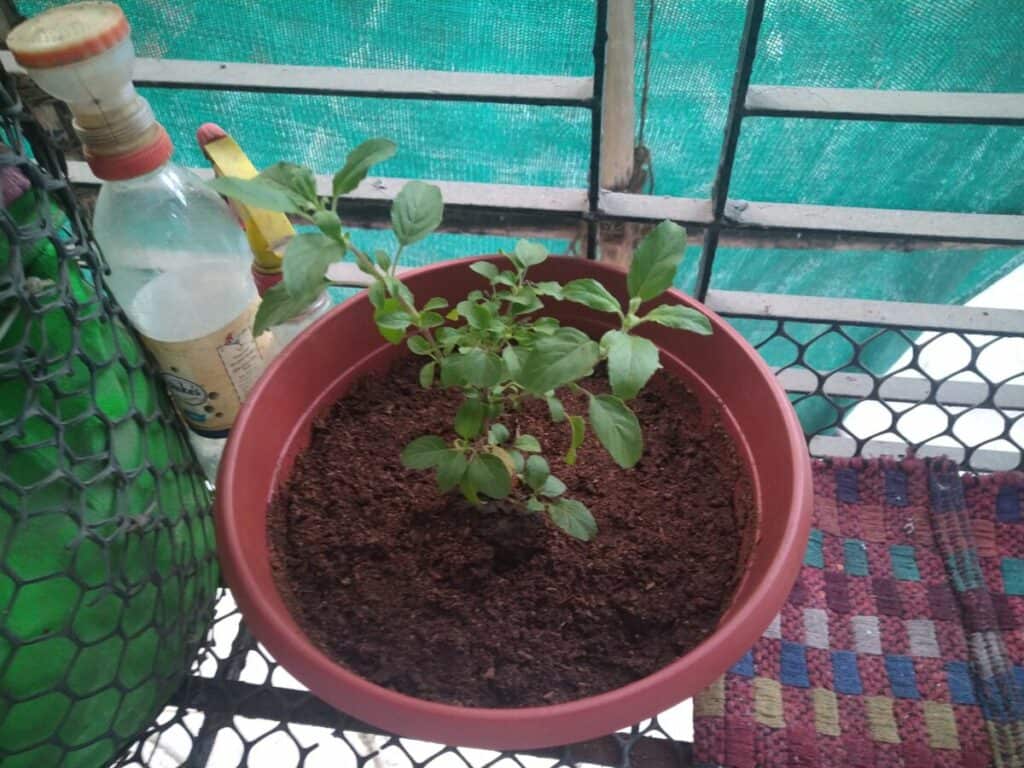
Choose the plants you want to grow
You can grow just about any plants you want in a container. But I suggest plants that are easy to grow and maintain. Here are some you can choose from.
| Vegetables | Herbs | Flowers | Houseplants |
| Tomatoes | Mint | Begonias | Spider plant |
| Cucumbers | Basil | Petunias | Philodendron |
| Broccoli | Chives | Hydrangeas | Cactus |
| Lettuce | Thyme | Dianthus | English ivy |
| Peppers | Marjoram | Geraniums | Snake plant |
| Radish | Sage | Chrysanthemums | Peace lily |
| Spinach | Oregano | Gladiolas | Fiddle-leaf fig |
| Kale | Rosemary | Lilies | Jade plant |
| Cauliflower | Dill | Sedums | Pothos |
| Carrots | Parsley | Impatiens | Aloe |
Use multiple small containers for the plants
I recommend using multiple small containers rather than fewer big ones. This will help you as a senior because you don’t need to move large, heavy containers around.
It’s also a lot easier to maintain small containers than bigger ones. Multiple containers also let you get more gardening done in the same amount of time.
You do need to pick containers that are suitable for growing plants of your choice. So do consider the depth required for growing the plants.
Pick the right location for your garden
You need to choose a good location for placing your containers whether you’re planting indoors or outdoors.
I would recommend placing your containers within the same area so that it’s easy to water, fertilize, and maintain the plants. You can monitor the plants and take care of them without having to move around too much.
If you’re growing houseplants indoors, that may not apply if you’re going to place the containers at different places for aesthetics.
You need to pick a location that will provide the required sunlight to your plants. Some plants need full sun while others need shade. So you need to plan your garden accordingly so each plant can get the required sunlight.
You can place tall plants behind short plants. This can provide good light for both types of plants. If you’re in the Northern hemisphere, place the tall plants at the Northside and the shorter plants in front of them.
If you’re growing plants indoors and they need plenty of sunlight, look for places like windowsills that get the required sunlight.
Make the plants easily accessible
As a senior, you want the plants to be easy to work with. You don’t want to have to reach out when watering the plant, pruning it, or harvesting the vegetables.
You don’t want to bend while taking care of your container plants as you could injure your back. Or you could lose your balance and fall over which you don’t want.
I suggest keeping the containers at a waist-level height because you can reach the potting soil and the plant with ease.
Pick a sturdy table that has the correct height and you can place the containers on it. Make sure the table is waterproof as the plants will drain water through the drainage holes.
If you’re growing the plants indoors, you can place them on small tables. You can use existing locations in the house that already have some tables or get some new ones.
If you’re going to try your hand with kitchen herb gardening, you already have your kitchen counter to grow the herbs. Just make sure the location you pick gets the required light.
It would be good if the table you pick can have a shelf so you can put your gardening tools in it. They will be easy to access whenever you need to work with your plants.
Ensure a water source is close by
It’s best to plan your container garden near a water source especially if it’s outdoors. You may have to water the plants quite often when growing in containers. So you want to make sure you don’t have to walk too far to collect the water.
It’s sufficient to have a tap outside where you can fill up the water. Tap water is not the best water to use for your plants because it contains chemicals like chlorine but it’s still OK to use.
I would recommend keeping a large pot near your container garden that you can fill up with tap water. This will help the chemicals dissipate from the water before you use it for your plants.
You can avoid having to water your plants often if you use a drip-irrigation system with a timer. You just need to set it up once by connecting it to the tap. And it will water your plants at the selected time with the required amount of water.
Buy Drip Irrigation Kit With Timer:
- Raindrip Automatic Watering Kit
- DricRoda Automatic Drip Irrigation Kit
- HighFree Automatic Drip Irrigation Kit
4. Choose the right containers to grow the plants
Picking suitable containers for seniors is important so you don’t exert yourself when working on your plants.
Select container size according to plant type
You will need to choose a container size that is suitable for the plant you wish to grow. Some plants have longer roots than others. Some may grow wider than others.
Learn about the plants you want to grow before you can get your containers. You can learn more about the plants online or using books. You’ll also get information about the plants from seed packets you buy from the stores or catalog.
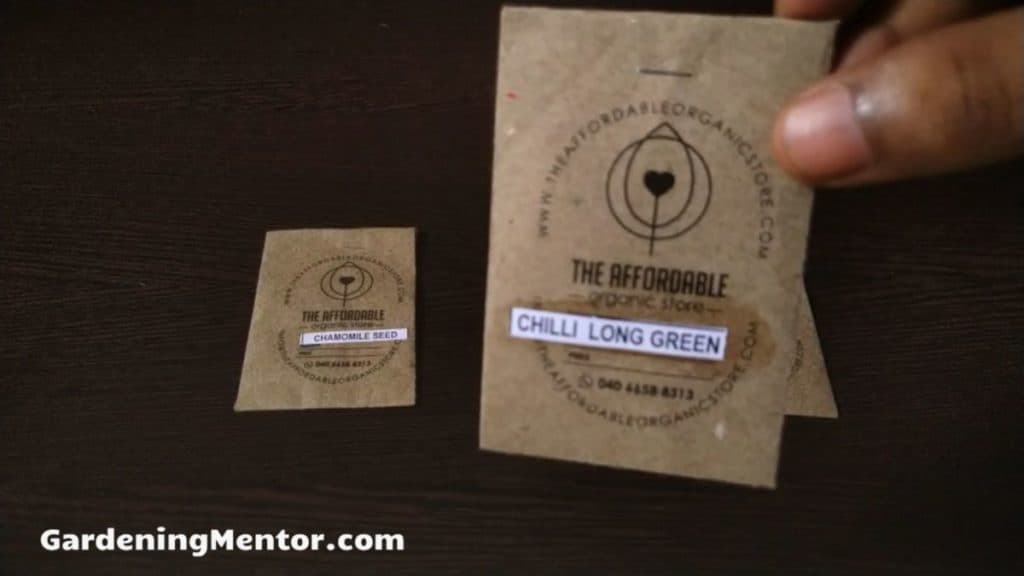
I suggest choosing plants that are small in size so they can be grown in small containers. This will help you grow a container garden with lots of plants but not much exertion.
Choose a lightweight container
You can get containers for your plants made from different materials, such as clay, glass, ceramic, metal, and plastic. These materials have different advantages and disadvantages.
I recommend seniors using plastic pots and containers for growing their plants because they are safe to use.
Plastic pots are good because they are light and easy to move around. They are also durable and you can get them for cheap. You can get them in many colors as well.
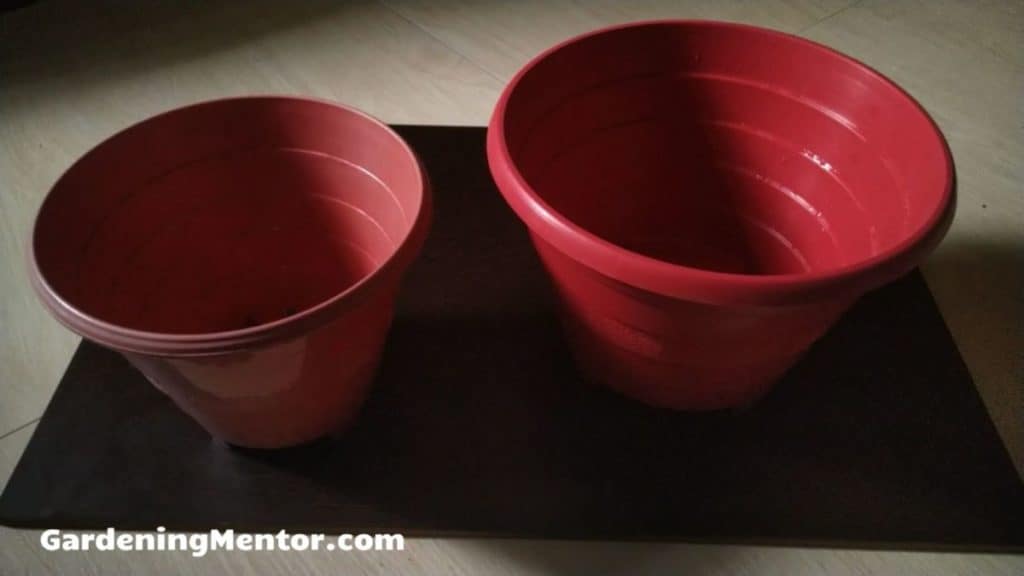
Plastic pots don’t dry out as fast as some of the other materials. So you won’t have to spend as much time watering the plants.
Containers made from metal, clay, ceramic, or glass are heavy and difficult to move around. You can drop pots made from glass, ceramic, or clay and hurt yourself. So I don’t recommend using them.
Clay pots have pores on their surface which causes them to lose moisture faster than the other materials. This keeps the soil cool but means you need to water the plant often. So it’s best to avoid them.
Make sure there are drainage holes at the bottom
One of the most important things to remember when choosing a container is having sufficient drainage holes at the bottom.
It’s quite common especially as a beginner to provide a lot of water to your plants. The drainage holes will ensure that the excess water flows out and does not drown the roots.
If the roots are in soggy soil for a long time, they will suffocate and won’t provide nutrients and oxygen to the plant. The moist conditions will develop fungal issues like root rot that will kill the roots and the plant.
Since you’re a senior, I would not suggest you try to drill the holes yourself in a pot. Buy the pot from a store making sure that it already has the required drainage holes.
Pick a self-watering container
If you have just a few plants you want to grow in your container garden, a self-watering container may be a good choice.
This type of container comes with a reservoir at the bottom that you fill with water. The potting soil wicks water from this reservoir and provides it to the roots.
The benefit for seniors of using a self-watering container is you don’t need to water the plants as often. You just fill the reservoir after a few days and the water will last the plant for a while.
Such self-watering reservoirs cost more than a regular pot. You also need to keep them clean so they don’t grow algae inside the reservoir.
Buy Self-Watering Containers:
Get the containers for your plants
Now that you know the size and type of container you need for your garden, it’s time to get them.
The first option is to check if you can reuse some containers already present in your house. This could be things like buckets, pots, or paint cans lying around in the basement.
The other option is to check if any of your family, friends, or neighbors have some containers lying around that you could use.
You could check with your local community gardens or garden centers if they have some spare containers you could use.
If you cannot find reusable containers, you can buy them from a garden center, nursery, or store. You could also get them at stores like Walmart or Target. Or buy them online at Amazon.
Buy Plastic Pots:
Place the containers on a plant trolley
That’s all you need to know to pick a good set of containers for your garden. But I would also recommend keeping the plant containers on a trolley.
This will help when you want to move the plants from one location to another. Maybe you need to move them to a location with better sunlight or shade. Or you need to move them indoors to protect them from the cold.
You can place them on the plant trolley so it’s easier to transport without having to exert yourself too much.
Buy A Plant Trolley:
5. Prepare the containers for your plants
Now that you have the containers for your plants you need to prepare them before planting the seeds or seedlings.
Sterilize the container
The first step is to sterilize the container before using it. This will kill any harmful pests and diseases in the soil.
The easiest way to do this is to soak it in a solution containing 1 part bleach and 9 parts water for an hour. Then rinse the container with clean water and let it dry out in the sun. You can then add the potting soil to it.
Prepare the potting soil
I recommend using store-bought potting soil that you get specifically for growing in containers. This is sterile and won’t contain harmful pests or diseases.
The potting soil will also have the right texture to grow plants in it. It will retain sufficient moisture for the plant but drain out the excess.
Don’t use garden soil you may get from an outdoor garden as this may contain pests, diseases, or chemicals. It may contain too much clay or sand so the plants cannot get the required moisture from the roots.
Add fertilizer or compost to the potting soil
Once you have the potting soil, I recommend adding a source of nutrients for your plants. The best material to add is compost because it will add nutrients and beneficial organisms to the soil. Add 25% organic compost to the potting soil and mix it well.
If you cannot get good compost, the next best option is to add a slow-release organic fertilizer to the potting soil.
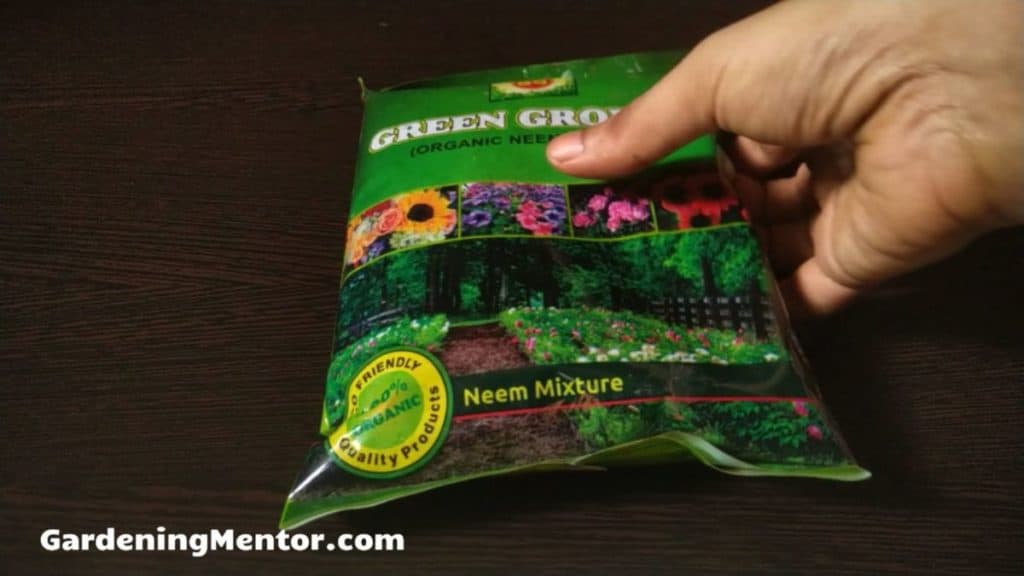
Follow the manufacturer’s instructions on the amount of such fertilizer you should add to the potting soil. Mix it well into the potting soil so it can release the nutrients when the soil is watered.
Buy Potting Soil With Fertilizer:
Add the potting soil to the container
Once you have prepared the potting soil, it’s time to add it to the container. Before you do that, check the drainage holes are clear from any obstructions.
Add a few layers of newspaper on the bottom of the container to prevent the potting soil from leaking out of the drainage holes.
Now you can fill the container with the potting soil. Shake the container so the potting soil can adjust in it.
Don’t fill the entire container but leave space of about 1-2 inches from the top. This will help you water the container without water and soil spilling out.
Add the support for the plant
If you have plants to grow a vining plant such as cucumbers or tomatoes, you can add support in the potting soil.
This could be a stake that you add either to the container where you will plant the vegetable. Or in another container that you will keep next to the plant.
The support will help the plant grow vertically and avoid touching the soil. This keeps it protected from pests and diseases.
6. Plant the seeds or seedlings in the containers
Now you have the container prepared with the potting soil and ready for your plants. You can either grow plants from seeds or seedlings.
If you want to save the effort, I would suggest buying seedlings from a local nursery or garden center. Seedlings are the plants that have already germinated in the potting soil. You can just transplant these plants to your containers.
If you want to plant seeds instead in the container garden, you need to know that it will take some time for the first germination and sprouting of those seeds. The benefit of starting seeds is you get a lot more variety when choosing plants.
Starting plants from seeds in the container
You can buy the seeds from a nursery, garden center, or an online store. The seed packets will have information about the plant, how many seeds to plant, the days to germinate, and the days till maturity.
Different seeds have different requirements so you need to read the instructions. This will show you how deep you need to plant the seeds and how much space to keep between them.
Some seeds you plant 1-inch deep into the potting soil. But some seeds you may just need to place on the surface of the potting soil.
Use a watering can to carefully water the potting soil making sure you don’t displace the seeds from their position. The potting soil has to be moist but not soggy.
After a few days, the seeds will germinate and the plant will start growing its first set of leaves.
Buy Seeds Online:
Transplanting seedlings to the container
The other option is to buy seedlings from your local garden center, nursery, or online store. These plants are already germinated and ready to grow in your containers. You are limited in options to the plants that you will find in these stores.
Make sure to check the plant well before you buy it. You want to avoid plants that are unhealthy and having pests or diseases on them.
Check that no pests are flying around near the plant. The plant should be dark in color that shows it’s healthy. Make sure to inspect under the leaves for pests.
Check there are no white, brown, black spots on the foliage that are signs of disease. You can lift the plant out of the pot and check the roots are healthy. They should be white or light brown in color.
To transplant the seedling in your container, dig a hole in the center of the potting soil so the roots can fit in. Place the roots in the hole and cover them up with the potting soil. Gently press the potting soil near the base of the plant to give it support.
Give the potting soil good watering till the water runs out from the drainage holes at the bottom.
7. Water the plants growing in the containers
You do need to water the plants more often when growing in containers than in the ground. This is because the roots can reach deep into the ground and collect water but they are restricted in a container.
I suggest growing your container garden near a water source so you don’t have to move too much when watering the plants. I also recommend using a light watering can instead of a heavy garden hose.
The amount of water each plant needs depends on the type of plant you’re growing. Succulents and hardy plants need less watering than vegetable and flowering plants. So do learn more about the plants you’re growing to understand their needs.
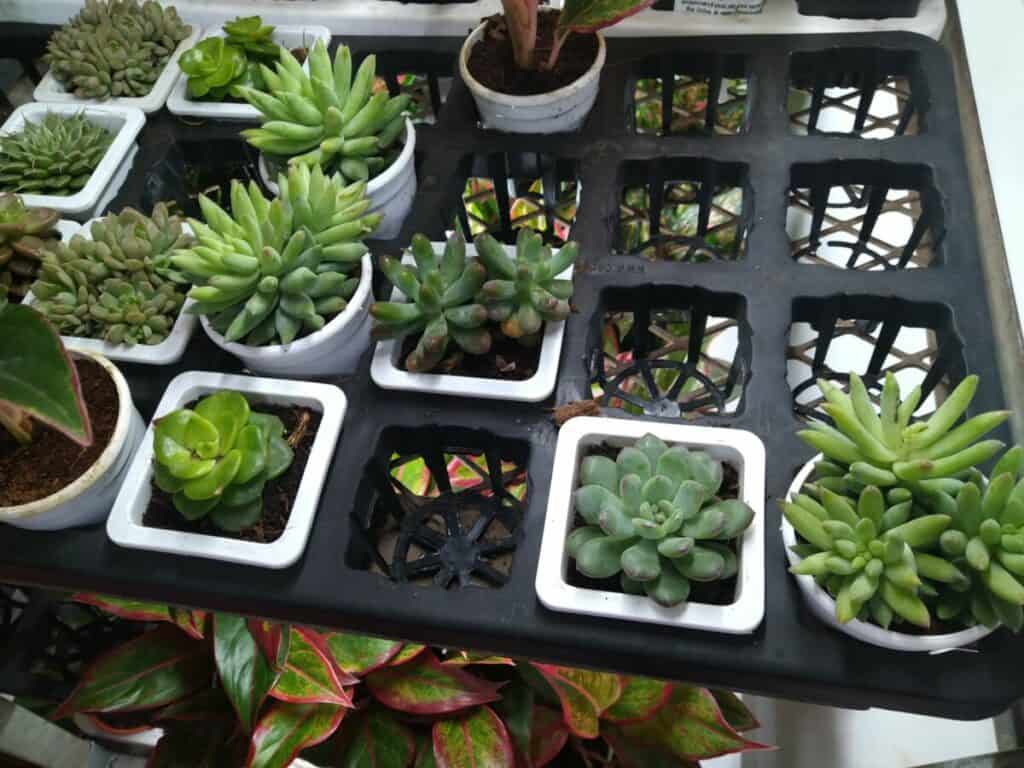
You need to check the moisture content of the soil and only water when it has dried out. You can check this every morning or evening as part of your gardening routine.
Stick your finger 1-2 inches into the potting soil and check the tip of your finger. If it comes out dry, it’s time to give good watering to the plant.
Use the watering can to pour water into the potting soil till it drains out from the drainage holes at the bottom. Make sure not to splash water on the foliage to avoid leaf burn and fungal diseases.
I would recommend using automated watering options for seniors because it helps reduce your time and effort spent on watering. The best option would be to use self-watering containers or an automated drip irrigation system.
You just need to fill up the reservoir of the self-watering container and the water will be available to the plant for several days.
If you use a drip irrigation system with a timer, you just need to set it up once and it will provide a consistent drip of water to the plants as needed.
8. Add mulch to the potting soil
Mulch is any organic material such as dried leaves, grass clippings, straw, wood chips, or hay. You can add 1-2 inches of mulch on top of the potting soil.
The mulch will help insulate the potting soil and regulate the temperature. This will help keep the moisture in the soil longer so you don’t have to water as much.
The mulch will also protect the plant from weeds. It will prevent weed seeds from germinating by preventing light from reaching them.
Make sure to add mulch only after the plant has germinated and grow about 4 inches tall. Avoid adding mulch near the base of the plant so it does not touch the plant and invite pests or diseases.
9. Fertilize the potting soil and plants
I recommend adding compost when you prepared the soil for your containers. This will provide nutrients and beneficial microorganisms to the soil.
You can also add a slow-release organic fertilizer instead if you don’t have compost. This will release nutrients in the soil whenever you water it.
You can keep adding 1-2 inches of compost to the top of the potting soil every month to help the plant get nutrients. Or add fertilizer to the top of the potting soil.
You could use organic liquid fertilizer instead of a slow-release one. You dilute this with water and spray it on the foliage and potting soil. This releases quickly into the soil and provides the plants with a boost of nutrients.
Check the manufacturer’s instructions on how much fertilizer you should use and how often.
If you’re growing the plants for their foliage, you can use a fertilizer high in nitrogen. Nitrogen helps the foliage grow better.
If you’re growing the plants for flowers and vegetables, you can use a fertilizer low in nitrogen and high in phosphorus and potassium.
You will find the values written on the fertilizer bag as N-P-K (Nitrogen, Potassium, Phosphorus). So an N-P-K of 10-5-5 shows that it has higher nitrogen. An N-P-K of 5-10-10 shows it has higher potassium and phosphorus.
You can get such fertilizer from the garden center, nursery, or online store.
10. Prune the plants in the containers
Once your plants have grown a few inches tall, it’s good to prune them. This means you need to cut off some leaves and branches from the plant.
These could be dead or diseased leaves and branches but they can also be healthy ones. The idea behind pruning is that the plant will be encouraged to grow more foliage.
I recommend using a pair of bypass pruners to trim the leaves and branches. This will be gentle on your hand as a senior.
Make sure to sterilize the pruners before use so they are free from any pathogens. You could wipe them with rubbing alcohol before use.
Clean the pruners after you’re done with the rubbing alcohol and store them away.
11. Check for any pests and diseases on the plants
I recommend checking on your container plants every day as part of your gardening routine. This will help you find out any issues as early as possible so you can fix them.
Your plants may be affected by pests or diseases at some point in time. If left unattended, these issues can kill the plant and spread to other plants.
You need to get rid of the problem based on that particular type of pest or disease. The first thing to try is to pick them by hand.
You can pull the pests out of the plant and dispose of them in soapy water. If the leaves or branches are diseased, you can prune them.
If the pests are tiny, you can knock them off with a spray of water. Make sure to look under the leaves as well.
If you don’t know what kind of pest or disease is attacking your plants, it’s best to consult a professional. They will know what you can do to fix the problem. They may help you get rid of the problem using organic or chemical solutions.
12. Remove any weeds growing in the containers
One of the best things about growing in containers is you don’t have to worry about weeds as much as in an in-ground garden.
But weeds can still reach some plants due to birds and animals dropping weed seeds in your containers.
The weeds will compete with the plants for nutrients if you let them grow. They may choke up the roots of the plant and cause damage to the plant.
You just need to keep an eye on your container plants every day. Remove any weeds as soon as you see them growing in the potting soil. You can just pull them out along with their roots.
13. Harvest the plants from the containers
You only need this if you’re growing the plants in containers for harvesting the flowers, fruits, or vegetables.
This depends on the type of plant you’re growing. You harvest the plants by using a bypass pruner to clip the flowers when they are ready.
If you’re growing plants that produce fruits such as tomatoes, cucumbers, or eggplants, you can clip them off the plant once they are ready for harvest.
You can harvest leafy vegetables like spinach, swiss chard, and kale by cutting off the mature leaves while leaving the rest to keep growing. This way you can get several harvests from these plants.
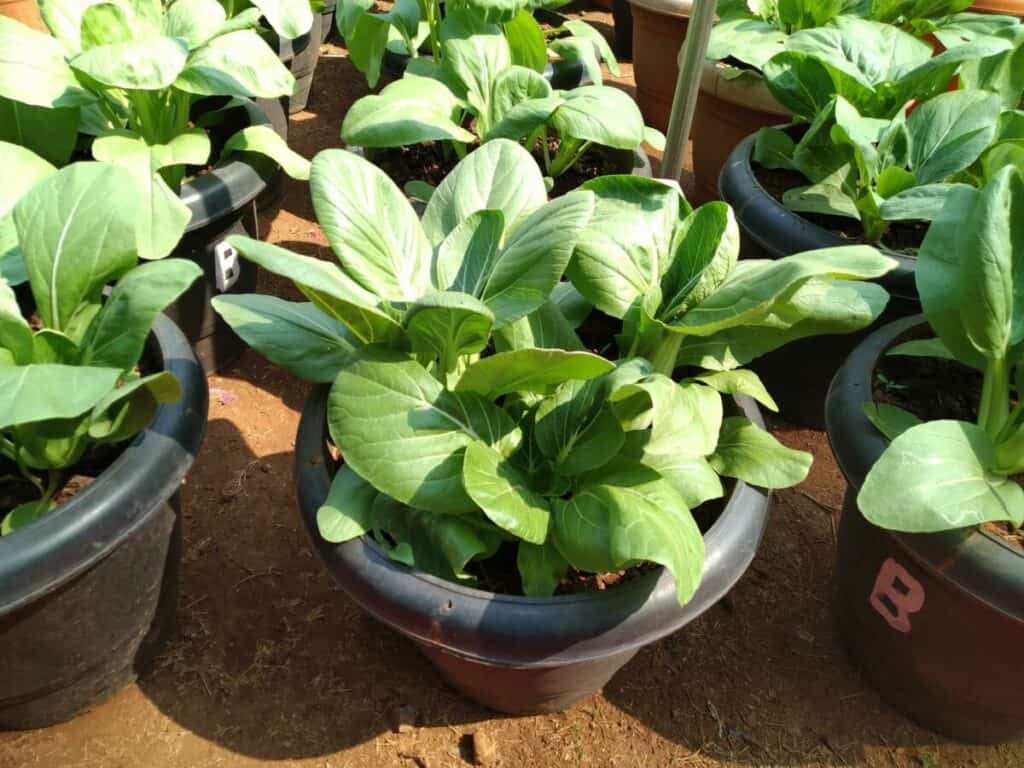
You can do the same with herbs like sage, parsley, mint, dill, and lavender where you just cut off some of the leaves for your use. The plant will keep growing new foliage that will be ready for harvest in a few more weeks.
You harvest vegetables like cauliflower, cabbage, and broccoli by cutting them off the heads once the flower has matured enough.
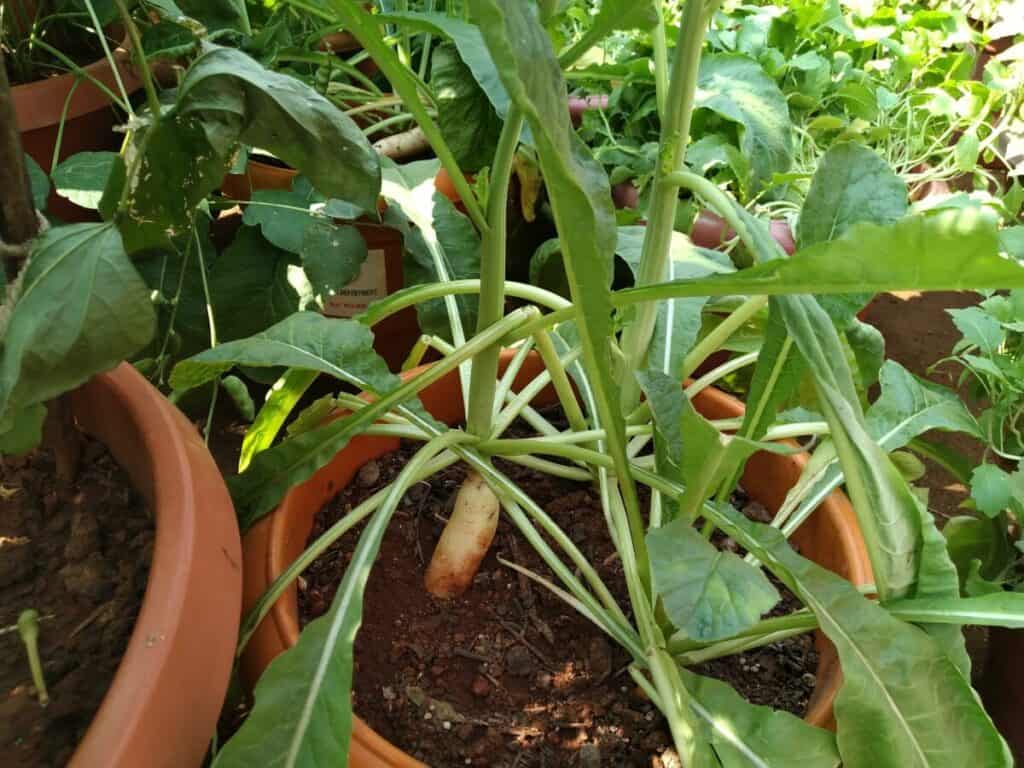
To harvest root vegetables like carrots, turnips, and radishes, you can check the size of their heads above the soil. They can be harvested when the size is about an inch in diameter.
You can hold the leaves at the plant base and gently twist or shake the root to remove it from the potting soil.
Further Reading
I would recommend you continue learning more about the basics of vegetable container gardening and I have just the right post for you.

Fact Checked, Written, and Published by Kevin Rodrigues
Kevin is the founder of Gardening Mentor, a website that aims to teach people to grow their own food in a limited space. As a self-taught gardener, Kevin has spent several years growing plants and creating gardening content on the website. He is certified in Home Horticulture and Organic Gardening from Oregon State University. He has a Post Graduate Diploma in Horticulture and Landscape Gardening from Mumbai University.
Read more
