Azaleas produce beautiful, pink flowers that make a wonderful addition to any garden. I wanted to add them as part of my container garden. So I went about understanding how I could grow them in a pot.
Azaleas are shallow-rooted plants, so use a pot where the root ball can sit well into the soil but not too deep. Use potting soil that has the loamy clay texture so the roots get required moisture and nutrients. Add compost and organic fertilizer every month to the potting soil.
1. Pick the best time to grow
The best time to plant azaleas in your container garden is in the late spring or early fall. These bushes will typically bloom in spring. In some temperate climates, they may blossom in late spring.
Either way, planting in late spring or early fall gives the root system some time to grow.
If possible, aim to plant in the fall. Fall planting is better because the roots can develop during the dormant winter season. Rather than focusing on producing foliage, the plant will divert its energy to the roots.
Deciduous vs. Evergreen Azaleas
There are two main varieties of azaleas available. For both options, late spring and early fall planting are best. But, the nature of these varieties can help you decide which option is right for you.
Deciduous varieties are azaleas that lose all of their leaves in the fall. Typically, these bushes get larger and produce bigger leaves in the spring. They can also tolerate colder climates.
Because deciduous azaleas drop their leaves, fall planting is ideal. The lack of foliage makes the bush more manageable. Plus, the plant is practically dormant in the fall. This results in less stress when planting.
Evergreen azalea varieties are a bit different. These plants grow leaves all year long. Even without flowers, they are a beautiful ornamental bush.
These types of azaleas can tolerate spring planting. While they won’t produce flowers until the following year, you can enjoy the foliage in the meantime.
2. Choose the right pot
Believe it or not, azaleas are one of the best plants to grow in a container. The average size can vary quite a bit based on the cultivar. But, all azalea bushes stay relatively compact.
They do not spread out wide like other bushes. Not only that, the plant will no grow beyond the means of the container its in. So, you can easily control its size by keeping it in a pot.
But what type of pot is best?
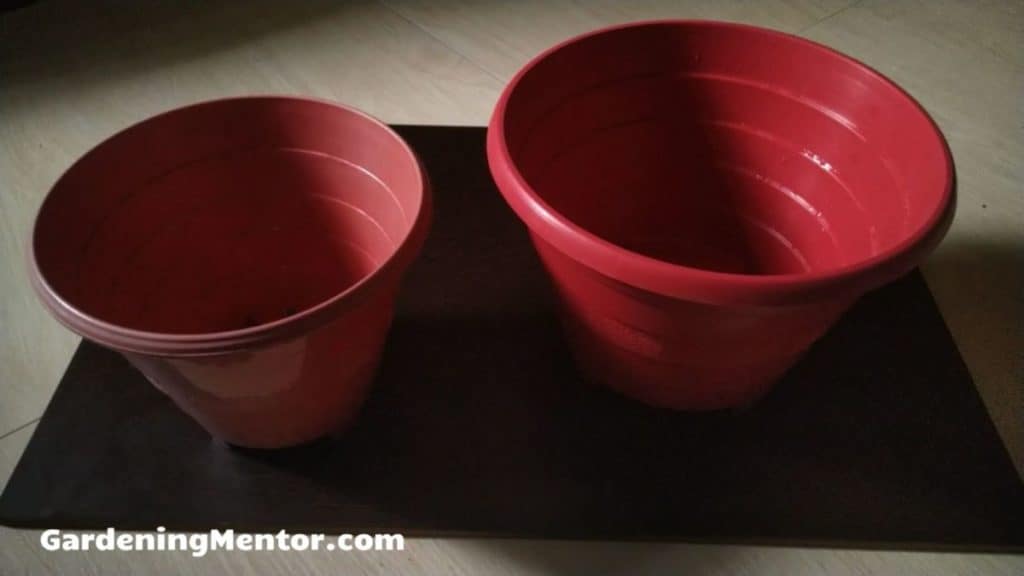
The first thing to consider is size. Go for a pot that’s at least 16 inches in diameter. You can get a larger one if you’re planting one of the larger azalea cultivars.
The pot should also be just as deep. Most azalea root crowns penetrate no deeper than 12 inches. Comparatively speaking, that’s not very deep. But you should still avoid shallow pots that will limit root growth.
For material, choose a thick and durable option. Terracotta, ceramic, and clay work best.
Plastic pots work, too. But, you have to remember that plastic pots do not provide insulation to the soil. Container plants experience more weather exposure than plants in the ground. Extreme cold or excessive heat could spell trouble.

A thick ceramic or terracotta pot will insulate the soil and roots regardless of the weather conditions.
Finally, take a look at the bottom of the pot. Make sure there’s at least one drainage hole. If you have the means to do so, drill a couple more. Azaleas need adequate drainage to avoid root rot.
Make sure you have a suitable stand as well so that the drainage holes aren’t blocked by the ground or a tray.
3. Use the best potting soil
Here’s a little-known fact: Azaleas are ericaceous plants.
This means that they prefer acidic soil. These plants hate alkaline soil and may not grow properly if the pH balance isn’t right. You need pH levels between 4.5 and 6.0. Do not use a soil that’s any higher than 7.0. This will only result in stunted growth.
Chances are, you’re going to have to amend your potting soil before you plant your azalea. Choose a well-draining soil. Work the soil to loosen it up and infuse some air into the mix. Then, amend it with compost.
Like any other plant, azaleas like nutrient-rich growing environments. When you’re first planting the bush, those nutrients are vital. It’s best to add compost and organic fertilizers beforehand so the azalea can start on the right foot.
To lower the pH level, add peat moss. Peat moss makes the growing medium more acidic, which is essential for this plant.
Do this several months before you’re ready to plant. Changing pH levels is a slow process. It may take well over three months to get right.
Check the pH levels after three months. Add more peat moss if necessary.
4. Plant the azaleas in the pot
Most gardeners source young azaleas from nurseries. These young plants are usually grown from propagation. Propagated plants develop much faster and can start producing blooms in as little as 2 to 3 years.
Planting the azalea in its new pot is simple. It’s just a matter of transplanting.
Once your soil is good and ready, dig a hole that’s the same depth as the nursery container. You don’t need to remove the soil to expose the root. Simply place the nursery plant into your new pot. Then, water it immediately and apply a thin layer of mulch to protect the roots.
Make sure that you’re not planting the azalea too deep. Deep planting causes root rot and a host of other problems.
5. Planting from Seed
It is possible to grow azaleas from seed. However, it can take several years to mature and start blooming.
To germinate the seeds, plant them directly in the pot. Place several seeds on the surface of the soil to increase germination rates. Spread them evenly and make sure that seeds aren’t sitting on top of each other.
Cover the seeds with a thin layer of soil. Then, put the pot in a warm environment with temperatures around 70 to 75 degrees Fahrenheit. Position a fluorescent growing lamp about 12 inches above the pot and moisten the seeds.
Even in ideal growing conditions, the seeds can take up to a month to sprout.
6. Place the pot in the right location
The beauty of growing azaleas in a pot is that you have full control over its growing environment. These plants are a bit more sensitive to light and temperature. So, you need to take time and choose the perfect position.
Sunlight
Azaleas need partial shade. The plants should receive morning sun but have protection during the afternoon.
Dappled sunlight is best for azaleas. You can put them on the east side of a large tree. That way, the plant will get plenty of sun exposure early on in the day. But by the time the sun rises, the canopy of the tree will keep it sheltered.
Do not put the azalea in full sun or full shade. You must provide a happy medium between the two. Either extreme will cause some growth problems as the plant develops.
Temperature
Ideal daytime temperatures for azaleas are around 60 to 65 degrees. This is just an average. There are thousands of different azalea cultivars. Some of them may tolerate warmer or cooler temperatures.
Generally, 60 to 65 degrees is best throughout the day. Azaleas can tolerate temperatures as high as 85 degrees and as low as 45 degrees. But, they can only handle brief exposure.
Anything beyond those temperature ranges will require additional protection. You can tent the plants during the winter to avoid frost. However, most gardeners will simply move the plant inside during the winter.
7. Water the azalea plants
Watering azaleas isn’t as easy as you might think. These plants can be a bit finicky about their water requirements.
They prefer to have uniformly moist soil at all times. Yet, soggy soil is something the plant does not tolerate. So, it’s a fine balance between overwatering and underwatering.
Generally, established plants need between three quarters to a full inch of water every two weeks or so. There’s a bit of wiggle room here depending on how dry and hot the temperature is.
Newly planted azaleas, however, will need a bit more water. You must provide a bit of water a few times a week to keep the soil moist until the plant matures.
When you water the plant, moisten the soil to a depth of 10 to 12 inches. Make sure that the pot has proper drainage to let any excess seep out.
8. Prune the azalea plant
Pruning azaleas is a pretty straightforward process. As I mentioned earlier, these plants are quite compact.
Unless you’re dealing with overgrowth issues, there’s no need to prune them at all. Azalea bushes have a naturally graceful shape. As a result, most plants need minimal pruning.
It’s best to prune the plant in the late spring or early summer. Wait until the flowers shrivel up and start to fall off. Grab a pair of hand clippers and focus on any growth that extends beyond the shape of the bush.
To remove overgrown branches, go deep into the bush to find where the branch originates. Clip it off at the split next to a larger woody branch.
Continue to remove any overgrown branches. Light pruning can do a lot to help fresh air and sunlight make its way to the center of the shrub.
You can also do major pruning. However, this is only necessary when the plant gets too big for its surroundings. Regardless of how large the bush is, you can trim it down to about a foot tall. Just keep in mind that the plant will take several years to produce flowers again after a major pruning job.
Whatever you do, never prune your azaleas in the late summer, fall, or winter. Doing so will only remove flower buds and prevent the bush from blooming next year.
9. Apply fertilizer to the azalea
Fertilization may be necessary sometime in the future. Fertilizers provide a boost of nutrients that can help the plant produce healthier growth and more blooms.
In the beginning, fertilizer applications aren’t necessary. But, you may experience some issues later on down the road because of nutrient depletion in the soil. Azaleas have shallow roots that can’t penetrate very deep. As a result, the plant will have problems accessing nutrients once the topsoil in your pot is barren.
Aim to fertilize your azaleas in the late winter or early spring. Never fertilize outside of this window. If you fertilize the plant when it’s not producing buds, you’re just going to create more foliage. The goal is to create healthier blooms, not promote extra vegetation.
There are a couple of ways to fertilize azaleas. If you want to go the natural route, you can easily use some organic compost. You can side dress the plant or work it into the soil around the base of the plant.
If you’d rather go the commercial fertilizer route, that works, too. Pick a nitrogen-rich fertilizer. Any standard all-purpose fertilizer product should work well. Use a water-soluble formula and create your mixture according to the instructions.
Water your plants and apply the fertilizer to about 6 inches past the tip of the branches. This should infuse the soil enough to support the plant for the rest of the year.
10. Protect the azalea from weeds
Weeds can be a major problem for some gardeners. Weeds will leech nutrients from the soil. This deprives your plant of using them.
You have a couple of ways to deal with weeds. The first is with an herbicide. Herbicides do a fantastic job of killing weeds. But, you have to be careful about the type of product you use and how you apply it. Herbicides could also kill your azalea if you’re not careful.
The best type of herbicide to use is a pre-emergent product. Pre-emergent herbicides attack weeds before they germinate. You must apply them in the late winter and early spring to control weed growth during the warmer months.
Use a pre-emergent herbicide that contains dichlorprop or dicamba. Those ingredients are selective and attack broad-leaf weeds. Avoid products that contain bentazon, oryzalin, or fluazifop. Those ingredients have a nasty reputation for harming azaleas.
Another option is to use mulch. This is an organic solution that stops weeds from getting the light they need to grow. Plus, mulch can also keep the soil moist for much longer.
Use pine bark, wood chips, or pine needles. Apply a generous layer of mulch on top of the soil to ensure that weeds do not grow anywhere near the plant. Make sure you’re leaving some open space around the stem to prevent rot.
11. Protect the azalea from pests and diseases
Azalea plants are not immune to pests and diseases. Unfortunately, there are several potential problems that you need to look out for.
Pests

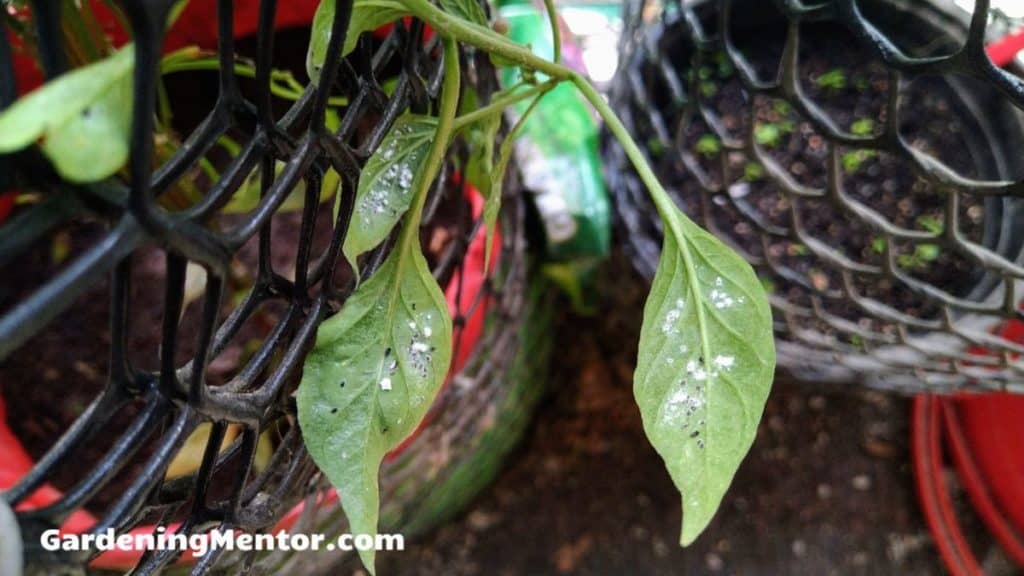
The most common pests to attack azaleas are bark scale, caterpillars, lace bugs, leafminers, and whiteflies.
Most of these pests will attack the foliage and stems. They’ll eat their way through the leaves of your plant, leaving them damaged and discolored. Luckily, they’re pretty easy to treat.
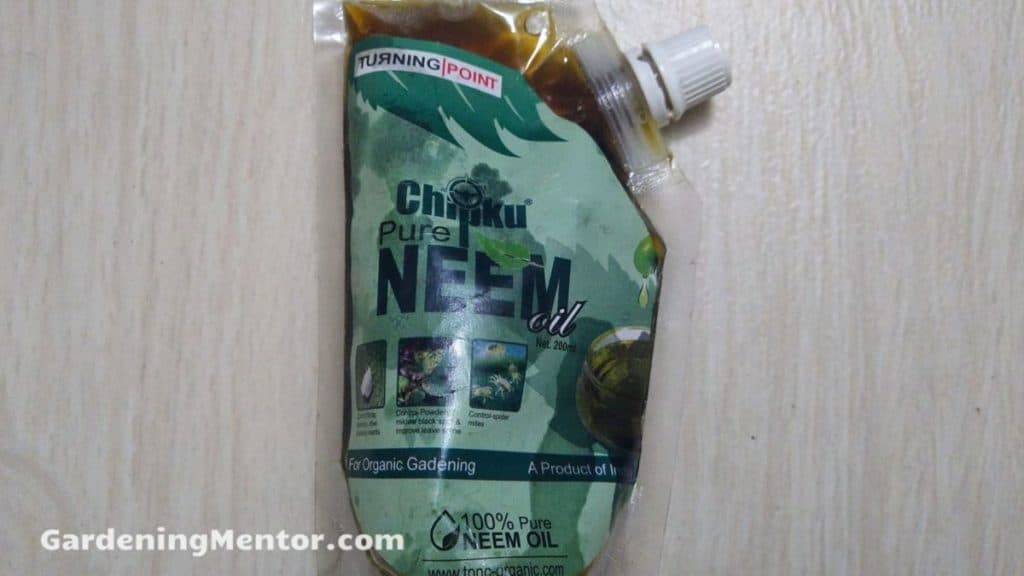
You can remove azaleas caterpillars by hand. Don’t worry: they pose no threat to humans. For the other pests, insecticidal soaps and neem oil will do the trick. You can also use chemical or organic pesticides.

One pest may pose a bigger problem. Azalea nematodes will attack the feeder roots of your plant. With major infestations, the plant will turn yellow and experience stunted growth. These bugs do not respond to pesticide treatments. But, you can prevent infestations by avoiding excess moisture.
Diseases
The most common diseases that affect azaleas are a result of fungal spores. Powdery mildew, rust, and petal blight cause discoloration throughout the plant. In most cases, you can resolve the issue with fungicide.
Issues like twig blight, azalea gall, and even rust are most pressing. These diseases cause stems and leaves to shrivel up. The diseases also spread. So, you must control the diseases with pruning to prevent them from killing the entire plant.

Fact Checked, Written, and Published by Kevin Rodrigues
Kevin is the founder of Gardening Mentor, a website that aims to teach people to grow their own food in a limited space. As a self-taught gardener, Kevin has spent several years growing plants and creating gardening content on the website. He is certified in Home Horticulture and Organic Gardening from Oregon State University. He has a Post Graduate Diploma in Horticulture and Landscape Gardening from Mumbai University.
Read more
