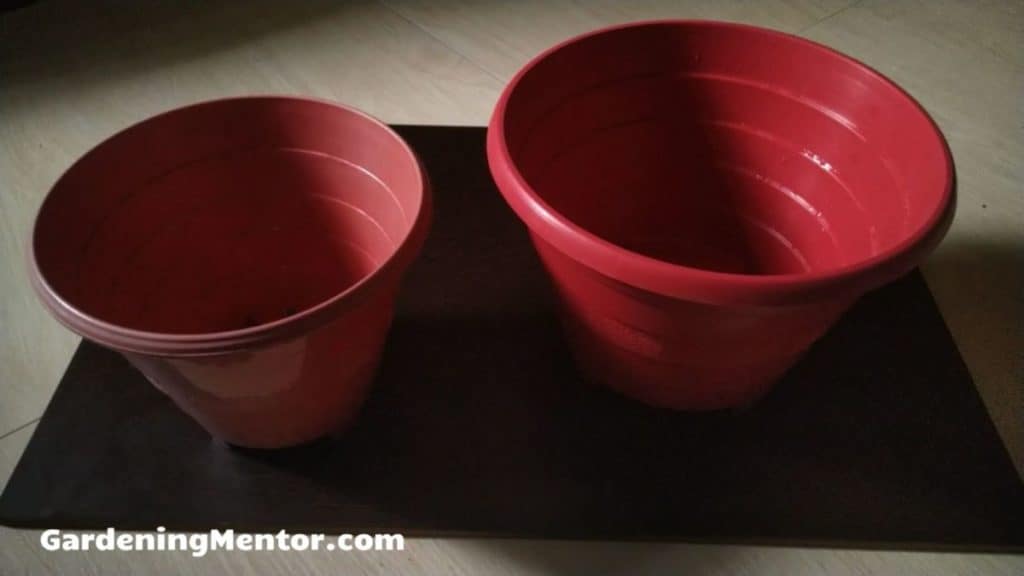
If you want to start container gardening, one of the most important tasks is to prepare the container. If you don’t do this step correctly, it could mean poor plant growth and even death.
But don’t worry because I’ve written all the details you need. Follow these steps and you’ll enjoy the benefits of container gardening whether growing your own food or flowers.
1. Make drainage holes at the bottom
When you buy a container for plants, make sure it has drainage holes at the bottom. These holes will help excess water flow out as you water the potting soil.
If too much water remains in the container, it will cause the roots to drown. This will bring fungal diseases like root rot to the plant. Once this happens, you might not be able to recover the plant and it may die.
If you buy the container from a garden center or nursery, there is a good chance it comes with drainage holes. Ceramic and terracotta pots will usually have some holes. If you are getting plastic containers, there is a possibility they won’t have such drainage holes.
It’s not a problem because you can drill the drainage holes yourself. It’s best to make at least 6-7 holes close to the center of the bottom of the container. You will need a drill and the appropriate drill bit to get this done.
If you have a plastic container, you can use the regular twisted drill bit to drill the holes. If you have terracotta or unglazed ceramic pot, you’ll need a masonry drill bit. And if it’s a glazed pot, it’s best to go with a glass drill bit.
2. Choose a container with the right size
It’s important to pick the right size when growing a plant in a container. If the container size is too small, the plant won’t be able to grow well. The roots won’t get the required nutrients and moisture as the potting soil and space will be less.
If the container size is too big, the roots will have lots of space to grow. But the problem will happen that the potting soil will retain the excess water that the roots don’t absorb.
This creates a moist environment that can attract fungal diseases such as root rot. The roots will become black, soggy, and covered with fungal infection. They won’t be able to provide the required nutrients and moisture to the plant. And the plant will eventually die.
I suggest picking a container that is one size larger than the plant roots. This gives the roots enough growing space but not too much.
As the plant will continue to grow and the roots expand, you can repot the plant in a bigger container. This new container should also be just one size bigger than the old one.
The other option you have is to pick a large container to grow plants. But grow several plants in a single container. This avoids the problem that the potting soil will retain too much moisture as there will be plenty of roots growing in it.
You may have a large container that you want to reuse instead of buying a new one for your plants. You can then add filler material like plastic containers, soda cans, or broken terracotta pieces to elevate the base of the pot. By doing this, you reduce the size of the container at least from the bottom.
3. Choose the right material
You can get the container for your plants made with materials like plastic, terracotta, ceramic, metal, wood, or concrete. The type you choose depends on you. Each material has its pros and cons that you need to be aware of before choosing the container.
Plastic containers are inexpensive, durable, and lightweight. They will not lose moisture as fast as some other materials. You do need to pick containers that are made with durable plastic and free from chemicals such as BPA.
Plastic may also have a problem when kept in the sun for too long as it tends to lose color. You may also find the plastic containers are basic in design and don’t have much appeal.
Terracotta is a natural material that is inexpensive but it can be brittle and heavy. The material has pores which means the potting soil can lose moisture fast due to wicking. Terracotta pots also have basic color and an earthy look that may appeal to some but not to others.
Keeping a terracotta pot outside in cold weather will make it brittle as the water in the pores freezes and expands. So you need to bring these pots indoors once the cold season begins.
Ceramic is a material that is stronger than terracotta and can withstand the cold. It comes in plenty of beautiful designs that can add appeal to your container garden. The material does not have pores so it won’t lose moisture as fast as terracotta.
The ceramic material is brittle and you need to be careful not to drop the pots when working with them. These containers can also get heavy especially after you add the potting soil and water the plants. Ceramic containers are also expensive compared to plastic and terracotta ones.
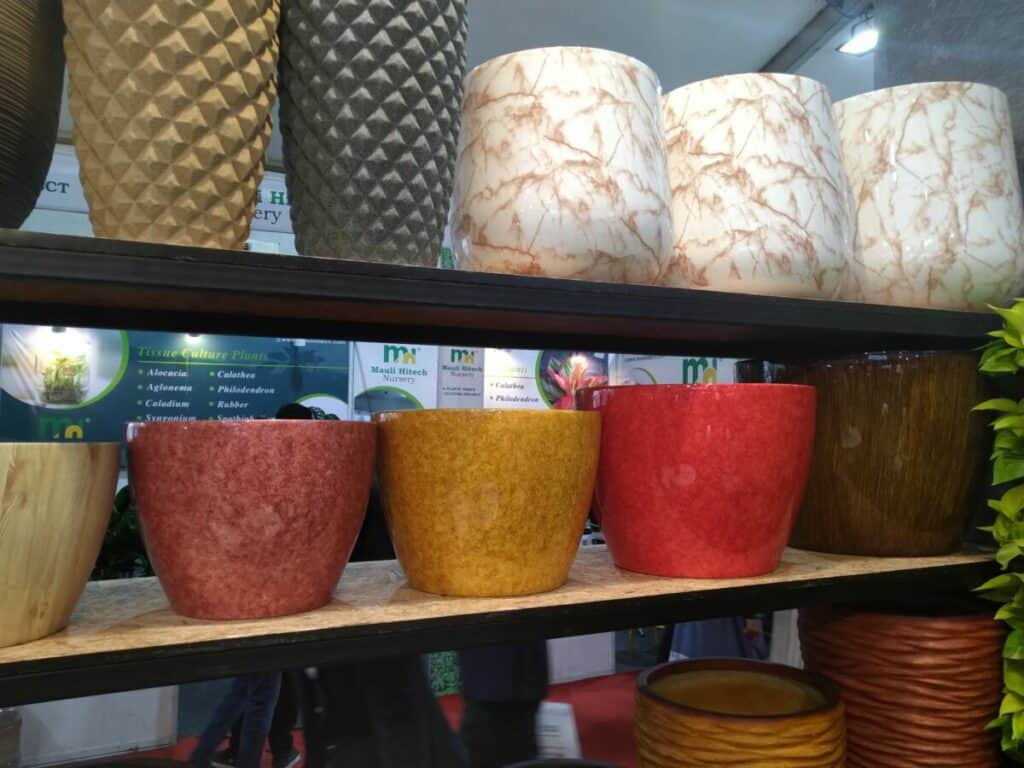
Metal containers might be another option for your container garden. They are very durable and can withstand different weather conditions.
They will be expensive and heavy compared to some other materials. Metal containers may also rust if you don’t coat them with good anti-rust paint. You may also find it harder to drill drainage holes in metal.
Wood containers are another good organic alternative to plastic and terracotta pots. They can be expensive but come in a variety of designs.
The wood will insulate the potting soil from extreme changes in the weather during summer and winter. You do need to pick a wood container that will not rot easily with moisture.
If you’re planting containers outdoors, a concrete one might be a good choice as well. These containers are extremely durable and won’t fall over due to windy conditions. They have no problems staying outdoors during the cold winters.
You may not be able to get them in appealing designs but can paint them as per your choice. They are very heavy and it’s best to place them in the right position before you add the potting soil and plant.
4. Clean the container
Whether you buy a new container or reuse existing ones in your house, you need to clean them up before use. The containers may have pests, diseases, unwanted debris, and even chemicals left behind from their past use.
I recommend sterilizing the container before you use it. The simplest method to do this is to soak it in a solution that contains 1 part bleach and 9 parts water. You want to keep the container in this solution for at least 1 hour.
Take the container out and rinse it with clean water to remove all the solution. You can then dry the container out in the sun before you use it for planting.
If any soil or debris is sticking to the insides of the container, you’ll need to scrape it out. An old screwdriver or metal file should be good enough for this job.
If you’re using a metal container and it has rust, you can apply some white vinegar and leave it for a few hours. Then rinse it with water so the rust comes off.
5. Line the container with plastic
If you choose a container made from material like terracotta or unglazed ceramic you need to protect it during harsh weather.
The problem with such material is they are porous and absorb the moisture from the potting soil due to wicking action. This will dry out the soil faster.
The water in the pores will freeze in cold weather and expand causing the material to become brittle.
One solution is to line the container with a plastic material so it will prevent this wicking action to take place. You need to place the plastic bag inside the container so it touches the bottom and sides of the container.
Make some holes in the bottom of the bag so it can drain out the excess water you put in the potting soil. You also need to cut the top portion of the bag so it aligns with the top of the container.
The other option is to place another glazed or plastic container inside the terracotta container. This can help you get the earthy look of the outer container but the plant will be growing in the inner container.
6. Pick the position of the container
Always pick the position where you will place the container in your garden before you put the potting soil and plant in it. And do place the pot there before planting.
This will be especially useful if you have a large and heavy container made from ceramic, metal, or concrete. Once you add the potting soil and plant, it will become heavier and difficult to move.
Figure out if you’ll need to move the container often in the garden. You may need to do this if the weather becomes too hot and you need to move it in shade. Or if the weather becomes too cold and you need to move the container indoors.
If you do need to move the container often, it’s best to place it on a dolly or moving tray with wheels. The dolly will also act as an elevation for the container helping with the removal of water that drains out from the drainage holes.
Do consider the requirements of the plant when it comes to sunlight. If the plant needs full sun, make sure to position the container in a location that gets good sunlight.
If the plant is supposed to grow in shade, pick a location in your garden that is surrounded by taller plants, trees, or a wall so it can get the required shade.
7. Elevate the container above the ground
If you place the container on a flat surface, the water won’t drain out from the drainage holes at the bottom with ease. This may cause the water to collect inside the potting soil and cause problems like root rot.
The water collecting under the container will also cause the place to stain. This will be a problem if you put the container on a patio. It may even start rotting if the area is made from wood.
The best thing to do is to elevate the container using terracotta stands. You can also use some gravel or stones instead. If you have a large container, you can even use a dolly to place it. This will help elevate the container and make it easy to move around as well.
Elevating the container can also protect it from some pests and diseases that might try to reach the plant through the soil or ground underneath the pot.
8. Use the right type of soil
One of the most important factors when growing a plant in a container is the soil you use. Pick the wrong type of soil and your plants will be struggling.
If you grow plants in an outdoor garden, you can either grow them in-ground or using a raised bed. The in-ground method will work when the garden soil is rich and fertile. If it’s full of sand, clay, or chemicals, you’ll need to create a raised bed.
The garden soil may also contain pests and diseases that you don’t want to reach your container plant.
All these are reasons not to use garden soil for your container plant. It may contain too much clay or sand so the texture is not suitable to grow plants.
Too much clay will cause the water to remain in the soil longer causing problems like root rot. Too much sand will drain the moisture too fast causing the roots to dry out.
Even if the texture of the garden soil is good enough, it may be too heavy to grow container plants. I suggest you use good potting soil to grow such plants.
The potting soil has the right texture that will retain enough water for the plant but drain out the excess. The potting soil will also contain enough pores so the roots can get enough air circulation.
You can either buy the potting soil from a local garden center, nursery store, or online store. Or you can make your own with the right materials.
You just need to mix 1 part perlite, 1 part vermiculite, and 1 part peat moss or coco coir to get a good potting soil sufficient to grow any container plant.
Read more:
9. Use a planter filler material
You may end up with a container that is very large for the plant. This could be because you are reusing an old container. Or it could be because the plant has shallow roots.
It’s best to not fill such a container full of potting soil only. Because too much potting soil will cause water to remain in the soil as the roots are not there to absorb it. This could cause problems like root rot.
The other problem is that potting soil is quite expensive and you don’t want to spend so much on soil that is not going to be used by the plant.
The solution is you can put some filler material at the base of the container and then add the potting soil. You can use old plastic milk cans, soda cans, packing peanuts, or old terracotta pot pieces as filler material. Make sure to clean the material before adding it to the container.
You should also add a layer of landscape fabric on top of the filler material. This will separate the material from the potting soil so the soil does not fall into the gaps of such material.
10. Fertilize the soil before planting
Most potting soil that you buy from the store or may yourself will not have any fertilizer in it. The soil will be sterile and just provide the required texture for the roots.
Some plants won’t require as much fertilizer while others won’t grow without it. I recommend that you use organic fertilizer when necessary instead of synthetic ones.
The best nutrients you can add to your potting soil is by using organic compost. This is the material that forms with the decomposition of natural materials like dried leaves, food scraps, wood chips, and straw.
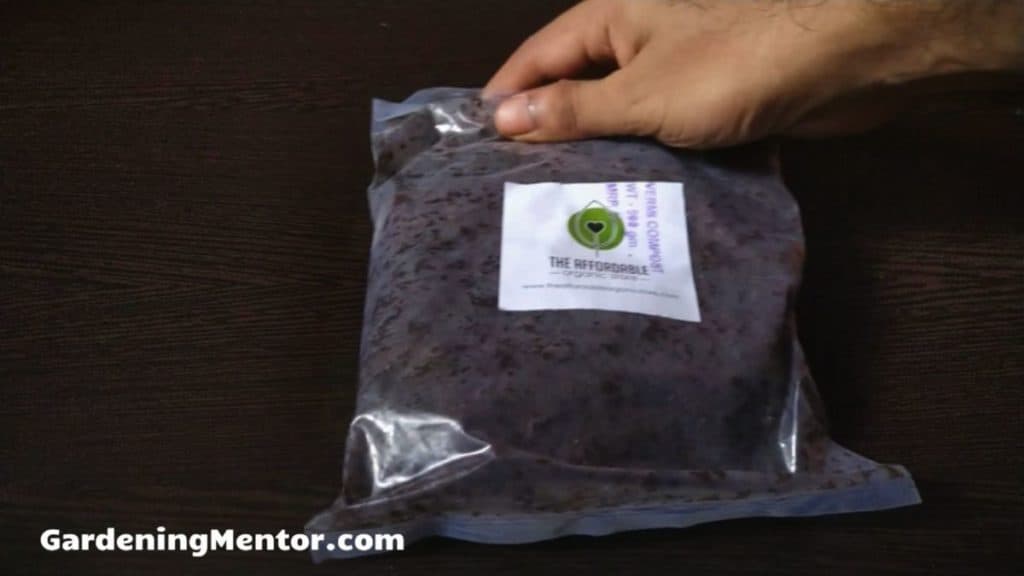
The compost adds rich nutrients to the potting soil that will be beneficial for the plant. It also improves the texture of the potting soil and adds beneficial microorganisms to it. It is organic, natural, and won’t harm the plant in any way.
The best organic compost you can use is the one you make at home in a compost pile or compost bin. If you cannot make it, the second-best option is to add organic fertilizer to the potting soil.
The organic fertilizer could be made with materials like blood meal, bone meal, alfalfa meal, rock phosphate, kelp, bat guano, and such other materials. You can find organic fertilizer in granular or liquid form.
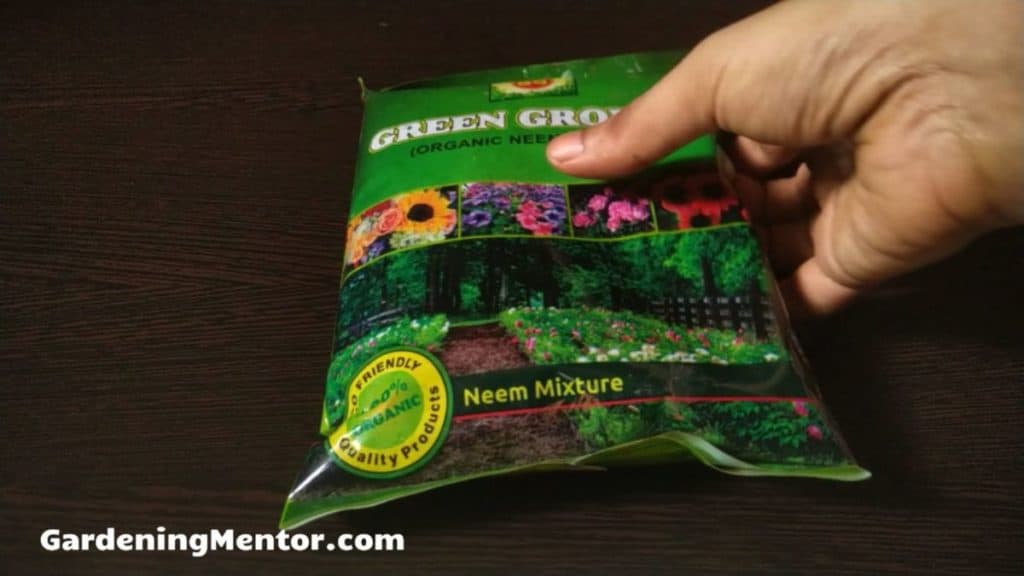
The fertilizer is specified with N-P-K values which is the ratio of nitrogen, phosphorus, and potassium you will find in it. It’s best to add balanced granular fertilizer to the potting soil. A balanced fertilizer has an N-P-K of equal proportion. So you could use such fertilizer having N-P-K of 5-5-5 or 10-10-10.
Nitrogen encourages the growth of foliage on the plant. Phosphorus helps the plant’s root and stem development. Potassium will help develop strong and disease-resistant plants.
11. Add support to the container
There might be some container plants you want to grow that will need support. This may be because the plants will grow as vines, or they have become top-heavy and need support.
It’s best to add support as part of preparing the container. This will help avoid disturbing the potting soil and roots once you have the plant growing in the container.
You may use different types of support based on the plant you want to grow. You may use a tomato cage for growing tomatoes. You may need a trellis for growing vines like beans or squash.
You may put the support in the potting soil in the container. But the container has to be base heavy and durable.
If the container is small and lightweight, the plant may topple over with the support. You may need to put the support in a separate container next to the plant. Or push it into the soil near the container if that is possible.
12. Water the soil in the container
Once you have added the potting soil to the container, you’ll need to water it well. The water will help the potting soil settle in before you can start planting the seeds, seedlings, or cuttings.
When you water the potting soil, it’s best to water it thoroughly. This means you keep pouring water on the potting soil till it starts coming out from the drainage holes at the bottom.
Watering in this way helps to ensure that the entire potting soil can get the required moisture. The water will reach all the roots of the plant in the soil.
The deep watering will help the roots grow deep into the potting soil. They will become much stronger and be able to absorb a lot more moisture.
I recommend using a watering can to water the potting soil as the water stream can be gentle. If you use a garden hose you will splash the soil and water all over the plant. This can cause a humid environment and invite fungal diseases.
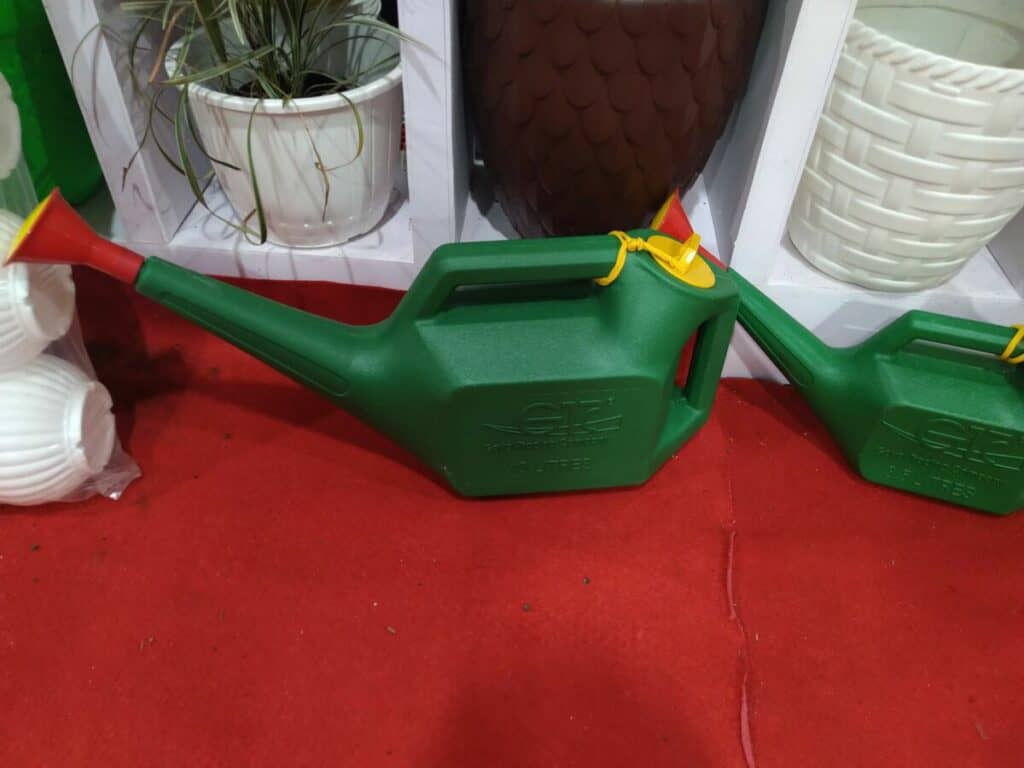
The other option you have is to use a drip-irrigation system. But this makes sense when you have a container garden with plenty of plants. You can save yourself a lot of time using a drip-irrigation system that is set with a timer.
Further Reading
Once you’ve prepared the container for planting, you’ll need to start seeds or seedlings in them. There are other basic activities you’ll need such as watering, mulching, and fertilizing. Read more,
Fact Checked, Written, and Published by Kevin Rodrigues
Kevin is the founder of Gardening Mentor, a website that aims to teach people to grow their own food in a limited space. As a self-taught gardener, Kevin has spent several years growing plants and creating gardening content on the website. He is certified in Home Horticulture and Organic Gardening from Oregon State University. He has a Post Graduate Diploma in Horticulture and Landscape Gardening from Mumbai University.
Read more

