Corn is a plant that grows tall and beautiful in the garden. But I wanted to find out if it’s possible to grow some in my container garden.
You can grow corn in a pot that is 12 to 16 inches deep. Make sure to use a pot that has sufficient drainage holes. Use good potting soil with right texture. Add compost and organic fertilizer every month. Provide sufficient water to the corn plant in the pot.
I’ll help you with all the information you need to start growing corn in a pot. So keep reading.
1. Pick the best time to grow corn
Corn is a summer crop with a pretty long growing season. If you plan things right, you could continually harvest these vegetables for a good 5 months.
The best time to plant your corn crop is in the spring. Timing is key here. You want to start as early as possible to give your corn plenty of time to develop. But, you also want to avoid some early-season issues.
Wait until the soil temperatures reach 55 to 60 degrees Fahrenheit. Typically, this will occur a few weeks after the last spring frost. Nighttime temperatures must be relatively warm, too.
Planting too early will cause the seeds to rot. This is true even in containers.
The exact timing may vary based on your climate and location. Corn grows in hardiness zones 4 through 8. So, there might be some fluctuation in timing if you live in colder regions. Use soil temperatures to know for sure.
2. Figure out how long corn takes to grow
On average, corn can take anywhere between 60 and 100 days to grow.
This vegetable crop takes some time. But, the growth cycle will seem like it’s going by very fast. That’s because corn plants can reach heights of 12 feet. The plant will look like it’s growing right before your eyes.
Common Corn Cultivars
You have a lot of different cultivars to choose from. Growing time can vary from one variety to the next. As a result, you can easily plan your growing season based on the weather you experience.
Those with shorter growing seasons might want to stick with fast-growing corn. One of the quickest varieties to reach maturity is the Yukon Chief sweet corn. It usually takes as little as 55 days from planting to harvest. Plus, it only reaches heights of 4 feet max.
Other fast cultivars include the Butter and Sugar, the Breeder’s Choice, and the Butterfruit Original Early. Those varieties take in the neighborhood of 75 days to reach maturity.
Generally, ornamental and popcorn varieties take the longest to reach the harvest stage. Peppy Hybrid and White Cloud popcorn take around 90 to 95 days. Meanwhile, the Indian Corn and Rainbow varieties require upwards of 110 days.
3. Choose the right pot to grow corn
Once you’ve figured out which type of corn you want to plant, you can choose your container. The right container is paramount with corn. These plants get pretty tall.
Not only that, but they have a fibrous root system. The tiny root fibers can spread wide and deep. It’s not uncommon for individual fibers to grow up to 60 inches long. So, having a spacious pot with a lot of soil is important.
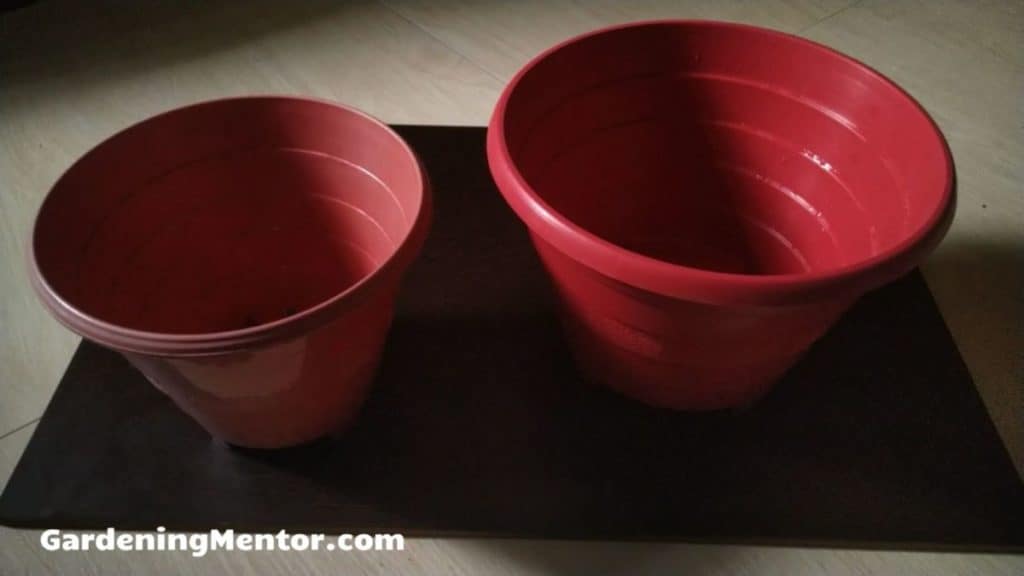
Pick up a pot that’s at least 12 inches in diameter and 12 inches deep. A pot of this size is large enough for about 4 corn closely planted corn plants.
You can also use bed-style containers if you want to grow even more corn plants at once. As long as there are at least 12 inches of depth, you should be good to go.
Material

When it comes to material, the sky’s the limit. You can use basic plastic pots, terracotta pots, or fancy clay pots.
However, many gardeners will also use non-traditional containers. It’s not uncommon to see corn growing out of things like barrels, old garbage cans, and more.
Don’t be afraid to get creative here. Just make sure there’s a minimum of 12 inches of width and 12 inches of depth.
4. Prepare the pot to plant corn
Next, you’ll need to do a bit of prep work to ready your pot.
If you go with standard gardening pots, you probably won’t have to do anything major. The only thing you have to pay attention to is drainage.
Corn plants will not tolerate soggy soil or waterlogging. If water can’t escape the pot, your plant will develop fungal problems or die.
Make sure that your pot has several drainage holes at the bottom. If you’re using non-traditional containers, take some time in creating holes. You can do this with a simple electric drill and a large drill bit.
Create several holes around the perimeter of the pot and in the center. You want to make sure that water has no room to pool in the pot.
Once that’s done, you must find a way to prop your containers off the ground. Putting the pots directly on your patio or grass defeats the purpose of having drainage holes. Hard surfaces will only plug the holes up.
You can use a simple wooded rack or a couple of bricks. Some gardeners like to lay down some chunky gravel. Whatever you choose, just make sure that nothing is blocking the drainage holes.
5. Plant the corn seeds and seedlings
Now, onto planting your corn. Planting is a fairly simple process. However, there are a few tricks to increase your chances of successful growth.
Preparing the Soil
First things first, it’s a good idea to enhance the soil a bit. Corn prefers peat-based soil with good drainage.
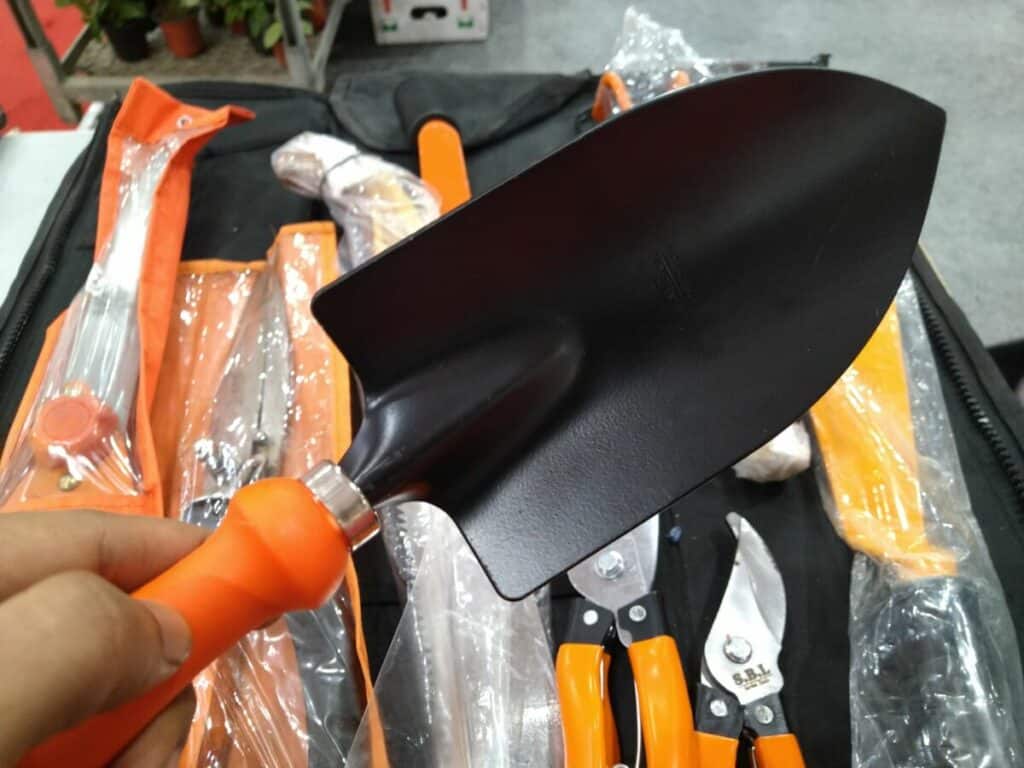
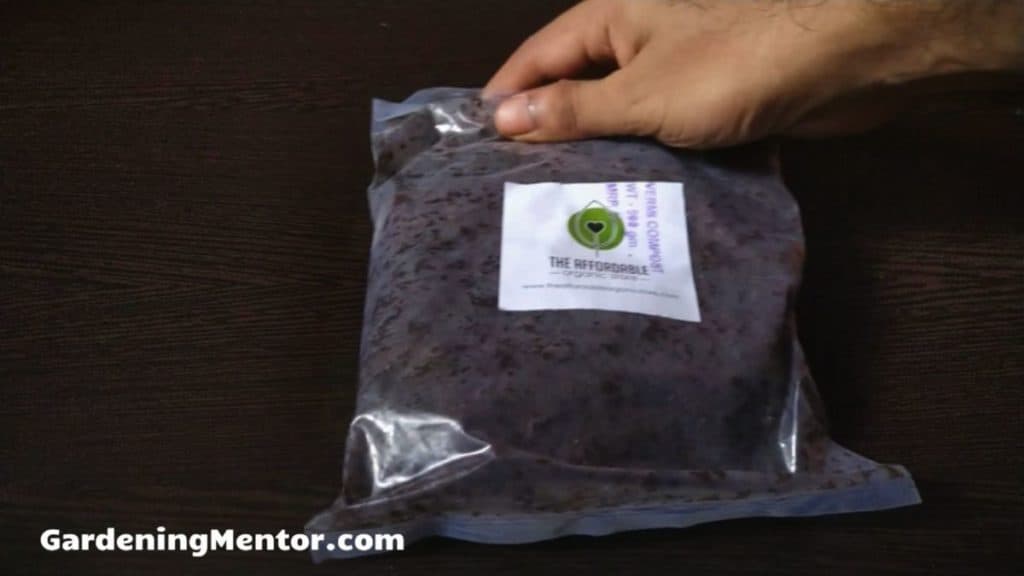
Several months before planting, amend the soil with compost. Use a hand trowel to work the compost uniformly.

The ideal time to do this is in the fall. This gives the compost some time to winter over and infuse the soil. But if you’re in a pinch, you can still add it to the soil last minute. Some nutrient amendment is better than none at all.
Planting Seeds
Most gardeners utilize seeds to start their corn plants. Corn is an annual crop that completes its growth cycle in only a few months. So, there’s plenty of time to start from seed.
Unlike other plants, it’s best to sow directly into the pot outside. There’s no need to start your seeds early indoors.
Fill your pot with soil and plant seeds about 1.5 to 2 inches deep. You don’t have to worry too much about spacing. Plant several seeds at once to increase germination rates. Once the seeds sprout, you can always thin the plants down.
Once you cover the seeds with soil, give them a good watering.
Planting Seedlings
Seedlings are available at many gardening centers. Choosing this planting method will cut back on growing time significantly. It’s a great option if you get a late start.
Dig a hole that’s about the same depth as the seedling container. Then, gently remove the seedling and move it to the hole. Lightly pack some soil around the base of the plant for support.
Space the seedlings about 4 to 6 inches apart from all directions. In a circular pot, you can arrange them in a square to maximize space.
6. Provide required sunlight to corn
Corn plants love basking in the sun. They need a full day of constant sun exposure to reach their full potential. That means giving the plant no less than 10 hours of sun every day.
You may still see growth with fewer hours in the sun. The plants can tolerate partial shade. But, the differences between a plant in partial shade versus one in full sun is significant.
Those that get less sun exposure often have trouble developing. They may grow shorter and produce smaller ears of corn. Cultivating crops is all about maximizing your yield, so you need to choose your placement carefully.
Luckily, it’s pretty easy to make changes if your corn plants are in pots.
Place the pot away from any structures or large trees that could cast shade. If you have multiple pots of corn, give them a couple of feet of space.
The goal is to let each plant in a single pot receive ample sun throughout the day. Once your corn gets bigger, having several pots bunched up together could create some problems. So, place the pots in rows that are about 30 to 36 inches apart.
7. Water the corn in the pot
With a warm-weather crop like corn, efficient watering is a must.
Corn plants need about an inch of water every week. You should split this water requirement throughout the week to keep the soil moist. For the best results, water the plant every other day.
Water has a big impact on the plant throughout every stage of the growth cycle. During pollination, a lack of water affects the quality of the future ears. Water stress often leads to missing kernels.
An inadequate water supply can also change the texture and taste of the corn. When you’re planting sweet corn, keeping the soil moist will improve flavor and overall softness.
When you water your plants, do so slowly and deeply. Focus your attention on the base of the plant and try your best to avoid getting any of the foliage wet.
If possible, consider installing a drip irrigation system. This is a good technique if you have several potted corn plants. However, It’s not very practical for single plants. Drip hoses keep the soil moist around the clock, which is beneficial for this crop.
8. Thin unwanted corn seedlings in the pot
If you started your plants from seed, you’ll need to thin them at some point.
While corn plants don’t have thick roots like other crops, plants will still compete for nutrients. The soil in a pot simply isn’t enough to support a ton of corn plants at once. Plus, there’s the matter of spacing to worry about.
Corn crops need a bit of room to breathe. It’s not as much as other plants. But a few inches of space can make all the difference. Corn uses the wind to pollinate. If the corn is too crowded, you’ll likely end up with several tall stocks and no ears to enjoy.
It’s best to start thinning the herb when your seedlings are about 4 inches tall. Many gardeners like to thin sooner, but I don’t recommend it.
You see, even at a couple of inches tall, the seedling is still using energy reserves in the seed. As a result, you’re not able to gauge which plants are strongest. Once they reach 4 inches, the seedling starts to spread its roots.
Take a look at your seedlings and determine which ones are the healthiest. Those are going to be the seedling you continue cultivating. As for everything else, get rid of it all.
Gently pull the unwanted seedlings out of the soil.
Aim for standard seedling placement, which is about 4 to 6 inches apart in every direction.
9. Add fertilizer to the corn plant
Fertilizing corn isn’t always necessary. Corn already grows quite rapidly compared to other plants. If you amended the soil before planting, it should have plenty of nutrients to support the corn throughout its growth cycle.
If you’re not too confident in the quality of your soil, you can apply a single fertilizer application. The best time to do this is about 10 weeks after planting. At this time, the plant is starting to develop ears. A boost of nutrients may help produce bigger ears.
You can use organic compost or an all-purpose fertilizer that’s safe for vegetable crops.

If you use compost, work it into the soil around the plant. Be careful not to damage any roots.
Commercial fertilizers are great, too. You’ll want to use products that have more nitrogen and phosphorus than potassium. Most soils already have enough potassium. Plus, you want to focus on growth and vegetable production.
Both water-soluble and slow-release fertilizers work well. Water-soluble options are easier to apply. You can simply water the soil around the plant to give it a kick of nutrients.
However, slow-release products may provide better results. Just side-dress the fertilizer by incorporating it into the soil. Over time, the nutrients will release to provide ongoing support to the plant.
10. Harvest corn from the pot
After about 60 to 100 days, your corn is ready for harvest. But don’t rely on a timeframe alone. Several factors can shorten or lengthen the growing cycle a bit.
Before you harvest, examine the plant and the vegetable. There should be at least one ear of corn on the top of the stalk. If you’re lucky, you might see another one lower on the stalk.
Take a look at the silk. The silk is the shiny silk-like fibers that emerge from the top of the corn ears. The silk will appear about 20 days before the vegetable is ready to harvest.
At harvest time, the silk will be dark brown. The cobs inside will also swell up. Pull back a husk and feel the kernels. If they are full and milky, you’re ready to enjoy the fruits of your labor.
Grasp the ear with your hand. Pull it down and give it a good twist to detach the ear from the stalk.
Corn is most flavorful when you first harvest them. The vegetables will start to lose flavor pretty soon. This is most noticeable in sweet corn varieties. So, plan to eat or freeze your corn as soon as possible.

Fact Checked, Written, and Published by Kevin Rodrigues
Kevin is the founder of Gardening Mentor, a website that aims to teach people to grow their own food in a limited space. As a self-taught gardener, Kevin has spent several years growing plants and creating gardening content on the website. He is certified in Home Horticulture and Organic Gardening from Oregon State University. He has a Post Graduate Diploma in Horticulture and Landscape Gardening from Mumbai University.
Read more
