I love spicy food and that’s what encouraged me to consider growing chili peppers in my container garden. They are easy to grow but you do need a bit of patience till you can harvest them.
You can grow chili peppers in pots but you need to choose at least a 5-gallon pot to grow medium varieties. If you want to grow larger varieties, you’ll need a 10-gallon pot. The pot should be at least 12-inches deep and wide.
Below are the steps you need to grow chili peppers in pots.
- Pick a suitable variety for the pot
- Choose the best time to grow chili peppers
- Find out how long it will take to grow
- Pick the right pot to grow chili peppers
- Prepare the pot for planting
- Add support for the plant
- Plant the chili peppers in the pot
- Provide the required sunlight
- Provide the required water to the chili plant
- Thin the chili pepper seedlings
- Provide nutrients to the chili pepper plant
- Tie the chili pepper plant to the support
- Prune the chili pepper plant
- Help the chili peppers to pollinate
- Harvest and store the chili peppers
1. Pick a suitable variety for the pot
You can grow most varieties of chili peppers in a pot as long as it has the right size to grow them. I’ve listed a few of the chili peppers you may be interested in growing based on how spicy they are.
| Name | Hotness | Height | Maturity |
| Anaheim | Mildly hot | 18-24 inches | 80 days |
| Hungarian wax pepper | Mildly hot | 18-24 inches | 70 days |
| Jalapeno | Medium hot | 24-36 inches | 70 days |
| Poblano | Medium hot | 24-36 inches | 65 days |
| Cayenne | Very hot | 36-48 inches | 70-80 days |
| Serrano | Very hot | 24-36 inches | 80 days |
| Habanero | Very hot | 24-48 inches | 75 days |
| Ghost pepper | Super hot | 24-36 inches | 100-120 days |
| Carolina Reaper | Super hot | 48-60 inches | 90 days |
2. Choose the best time to grow chili peppers
Chili pepper is a warm-season plant so the best time to grow them will be in the spring/summer weather of your region. The ideal temperature to grow such plants is at least 65 degrees Fahrenheit.
If you have a short growing season, you can start the seeds indoors. It’s best to do this at least 6-8 weeks before the last average frost date in your area.
Chili peppers can take anywhere from 60 to 120 days till the chilies are ready for harvest. So make sure the plant will be able to get the right weather during these days.
If the weather gets too cold, the plant’s growth will be stunted and it could even die due to the frost. In case, the temperature drops at night, you can use a row cover made with plastic to keep the plant warm.
3. Find out how long it will take to grow
The chili pepper plants can take anywhere from 90 to 120 days to grow from seeds to harvest. So you need to have a little bit of patience with them.
Once you have planted the seeds, it will take about 7-10 days for the seedlings to germinate. Make sure to provide them the required sunlight and moisture to ensure germination happens.
If the temperature is lower than 50 degrees Fahrenheit, the germination and growth of the seedlings will be very slow. You will face the same problem if you don’t provide the potting soil with the required moisture for the seeds and seedlings.
4. Pick the right pot to grow chili peppers
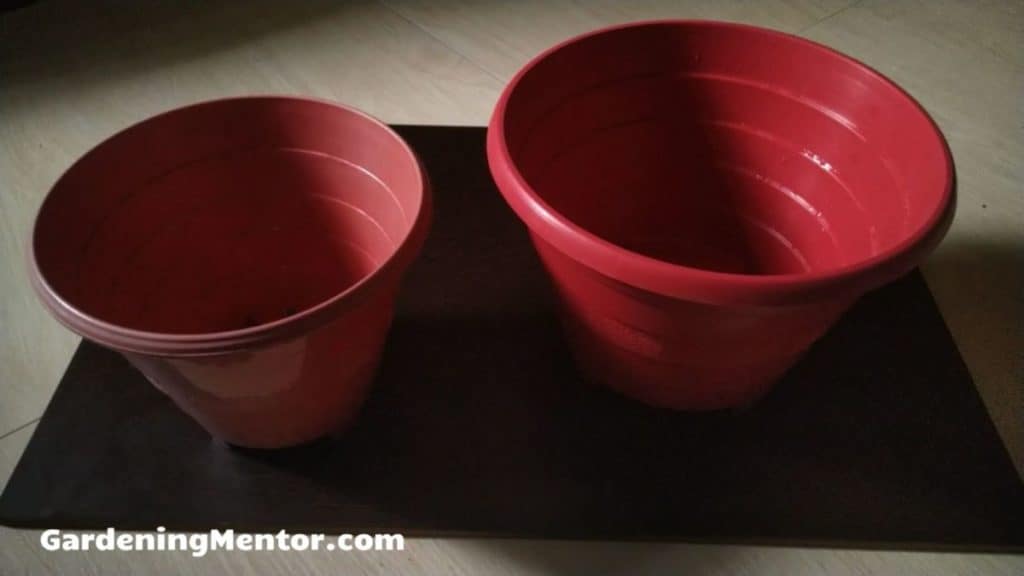
Chili pepper plants can grow several feet depending on the variety that you choose. I would suggest you pick a pot that is at least 12-inches deep and wide.
A 5-gallon pot works well for a chili pepper plant that grows to a medium height. A 10-gallon or bigger pot is required if you want to grow chili pepper plants that grow tall.
Make sure the pot that you choose has drainage holes at the bottom. This will help when you water the plant to drain out the excess.
Overwatering is a common problem when growing plants in pots and you want to avoid that. The risk of too much water in the potting soil is that the roots will drown causing problems like root rot.
You can choose a pot made with materials like plastic, terracotta, metal, ceramic, or wood. I like to use a plastic pot because it’s cheap, durable, and lightweight. The plastic material also does not lose moisture as fast as some of the other options.
You can buy the pot from a garden center, nursery, or online store. You could even reuse a container at home as long as it’s large enough to grow the chili peppers.
5. Prepare the pot for planting
Once you have selected the pot to grow chili peppers, you need to sterilize it. This process will help remove pests and diseases from the pot that can harm the chili pepper plant.
The easiest way to sterilize the pot is to soak it in a solution that contains 1 part bleach and 9 parts water. You need to keep the pot in this solution for at least 1 hour.
You can then rinse the pot with clean water and leave it to dry in the sun. Then it will be ready to add the potting soil and plant.
Place some newspapers at the bottom of the pot to cover the holes. This will prevent the potting soil from falling out of the drainage holes at the bottom.
Now you can start adding the potting soil till it fills the pot. But leave about 1-2 inches from the top of the pot. This will help prevent the potting soil and water from overflowing out of the pot when you water it.
I recommend using potting soil that you buy from a garden center, nursery, or online store. Don’t use garden soil that you have no idea about. It may contain harmful pests, diseases, and chemicals.
The garden soil may also contain a lot of sand or clay that makes it hard for the chili pepper plant to get the required nutrients, oxygen, and moisture.
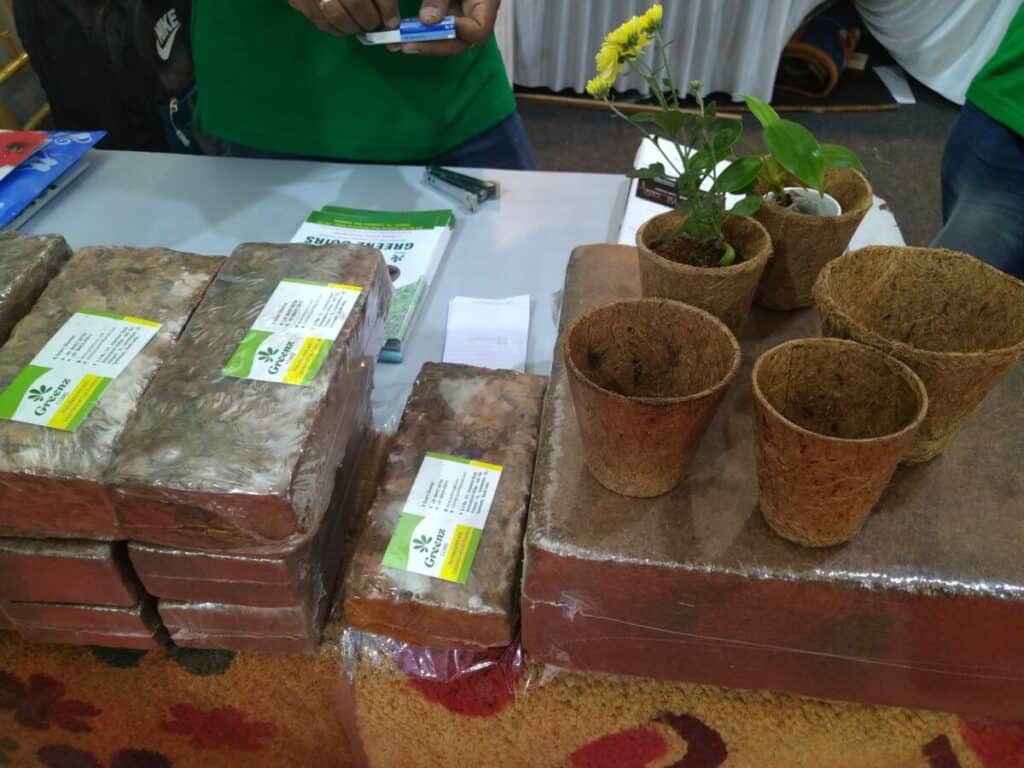
You can also make your own potting soil if you mix 1 part vermiculite, 1 part perlite, and 1 part peat moss or coco coir. I would also encourage you to add some compost if you can get some.
6. Add support for the plant
The chili pepper plant can grow tall depending on the variety you pick. It will also get heavy when there are a lot of peppers growing on the branches.
I recommend adding support that will give strength to the main stem of the plant. The easiest way to do this is to use a wooden stake.
You can bury the wooden stake into the potting soil before planting the seeds. You want to avoid doing this after the plant starts growing because you risk damaging the seeds and roots.
This method works when the pot is deep enough to keep the stake stable and straight. Otherwise, you can place the wooden stake in another pot that you keep close to the pot with the chili pepper plant.
If you are going to place the pot outdoors in the garden, you can even bury the stake in the ground just outside of the pot to get the most stable support.
7. Plant the chili peppers in the pot
I like to plant the seeds straight into the pot because it reduces the chances of damaging the seedlings during transplant. But this depends on your growing season.
If you have a short growing season, you may have no choice but to start seeds indoors. You need to do this at least 6-8 weeks before the last average frost date of your region.
The chili pepper seeds need at least 12 to 16 hours of sunlight to germinate. If you have a windowsill that gets plenty of sunlight, it might work. Otherwise, you need to use an indoor light to meet this requirement.
You need to plant the seeds 1/4th inch into the potting soil. You do this either in the outdoor pot or the seed-starting tray when growing indoors. You can plant 2-3 seeds together which ensures better germination rates.
Make sure to keep the potting soil moist but not wet. The seedlings will germinate in about 7-10 days if the conditions are right.
Once the seedlings have germinated and grown about 2-4 inches, you can transplant them to the outdoor pot. Make sure to harden the seedlings before doing this.
Hardening is a process where you gradually get the seedlings used to the conditions outdoors. Otherwise, you risk the seedlings facing transplant shock that may stunt their growth or even kill them.
To harden the seedlings, you need to keep them outdoors every day for a few hours and then bring them back in. Make sure you don’t keep the seedling in direct sunlight, rain, or wind.
After you keep doing this for about a week, the seedlings will be ready for the transplant to the larger pot outdoors.
Make a small hole in the center of the potting soil in the larger pot. Gently squeeze the rootball out of the seed-starting tray and place it in the hole. Cover the roots with potting soil so they are not exposed.
Gently press the potting soil near the base of the plant so the seedling gets good support. Now you can water the potting soil well till the water flows out from the drainage holes at the bottom.
8. Provide the required sunlight
Chili pepper plants are warm-season plants which means you need to provide them at least 8 hours of direct sunlight when the plants are growing.
If you are starting seeds, you’ll need to place the pot in a location that gets at least 12 to 16 hours of direct sunlight. If you’re growing them indoors, you’ll need to use artificial lighting if there’s no good sunny location.
If the seeds don’t get the required sunlight they either won’t germinate or the growth will be slow. The same will be the case for the seedlings. If they don’t get the required sunlight, they won’t grow well.
9. Provide the required water to the chili plant
The chili pepper plants also need a lot of moisture when they are growing. The potting soil does not need to be soaking in water but it should be moist. The plant should be getting about 1-inch of water every week.
The simplest method I can think of is using your finger to gauge the moisture in the potting soil. Stick your finger 1-2 inches into the soil to feel the moisture.
If the tip of your finger does not feel moist, it means the soil has dried out enough that you need to water it. You should water the potting soil deeply which means keep watering till it drains out from the bottom through the drainage holes.
This ensures that the water has reached all areas of the potting soil and all the roots of the plant have received sufficient moisture.
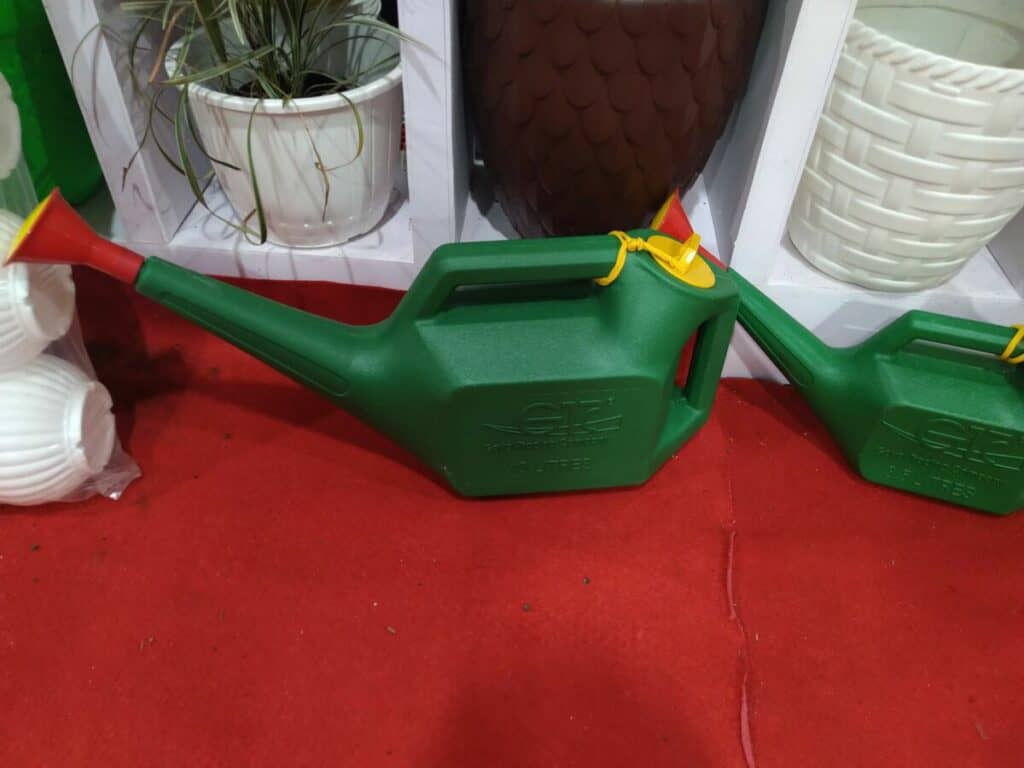
You can use a watering can to water the potting soil. Make sure to water the base of the plant and avoid splashing it on the foliage of the plant.
I feel the best time to water the chili plants is in the morning. You can make a routine to inspect your garden plants every morning and water them at that time.
The potting soil and plant roots will be able to absorb the required moisture. If there is any excess splashed on the foliage, it will dry out when the sun comes out.
That is helpful because leaving excess water on the foliage encourages a moist environment that can invite fungal diseases.
I would also encourage using mulch on the potting soil. This could be organic material like grass clippings, dried leaves, straw, wood chips, or moss.
The mulch helps keep the potting soil insulated which means it does not lose moisture fast. So you don’t need to water the potting soil as often as without it.
10. Thin the chili pepper seedlings
If you remember, we have planted 2-3 seedlings per pot or seed-starting tray when we were planting them. This helps improve the chances that at least one seedling will germinate.
But more than one seedling may start growing. That can cause a problem because the seedlings will start competing with each other for nutrients once they have fully developed.
That’s why you need to thin them out. Thinning is a process where you choose to continue growing one seedling but cut off the remaining ones.
If you find that one of the seedlings is healthier than the others, that can be an easy choice. Otherwise, you just pick one at random. I suggest allowing the seedlings to grow at least 2-4 inches with a few leaves before you consider thinning them out.
You can use a bypass pruner to cut the seedlings near the base. Chili pepper leaves could be toxic when raw but you could cook them up. I would suggest just to dispose of them.
11. Provide nutrients to the chili pepper plant
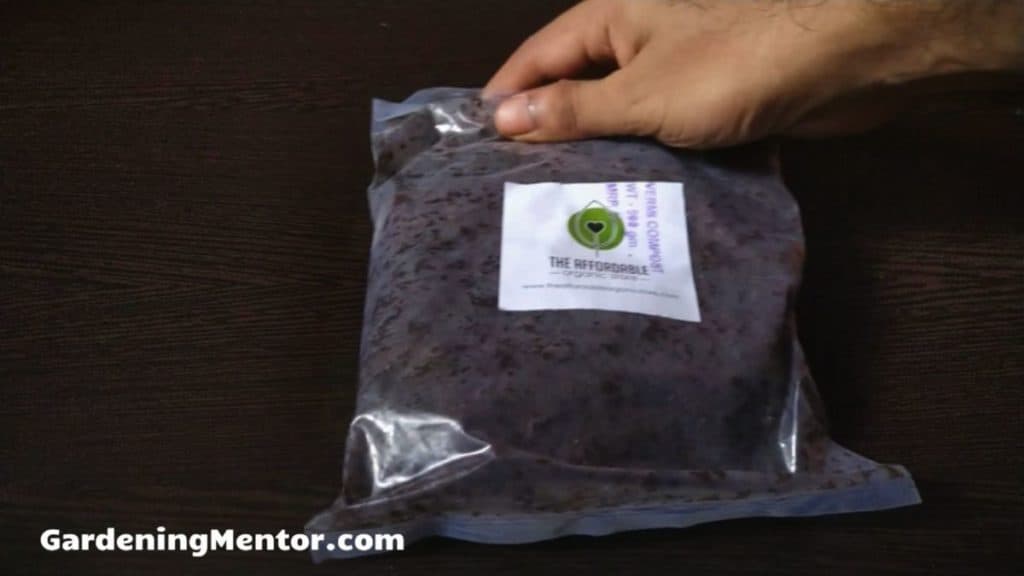
The best nutrients you can provide to the chili pepper plant is by adding organic compost to the potting soil. You can do this when preparing the pot with the potting soil.
You can also continue adding a little bit of compost every month when the chili plant is growing into a mature plant. The compost will provide nutrients and beneficial microorganisms to the potting soil.
If you don’t have compost, you can add a slow-release granular fertilizer to the potting soil when preparing the pot. It’s best to use a balanced fertilizer such as one having an N-P-K of 10-10-10.
Once the seedlings have germinated and maturing, you can add a fertilizer that is low in nitrogen such as having N-P-K of 5-10-10. Too much nitrogen encourages foliage growth but we want more of the fruit rather than the leaves.
You can add the granular fertilizer on top of the potting soil every month as the plant continues to grow and mature. You can also use liquid fertilizer instead of the granular one.
The benefit of using liquid fertilizer is that it’s a fast-acting fertilizer. You spray it on the potting soil and foliage so it gets absorbed by the plant in a couple of days.
You can dilute the liquid fertilizer in water and spray it once every couple of weeks. If you dilute it a lot, you could spray it every day when watering the plant.
It’s best to follow the instructions provided by the manufacturer on how much and how often you should use the fertilizer whether granular or liquid.
12. Tie the chili pepper plant to the support
As the chili pepper plant grows tall and develops chilies, it will become heavier and could fall over. That’s why we added support using a wooden stake when preparing the pot.
When the chili pepper plant begins to grow, you can tie the main stem to the stake at regular intervals. I recommend using horticultural twine to tie the plant to the stake.
Make sure that you don’t tie the twine too tight as this can stress the plant and even cause damage to the stem. Ideally, you want the support to have sufficient length so it can support the full-grown chili pepper plant.
13. Prune the chili pepper plant
Pruning is a process where you trim parts of the chili pepper plant such as leaves, branches, flowers, and fruits. The purpose of pruning is to encourage more growth in the plant.
When the seedlings are growing, you can prune the leaves and branches of the plant. This encourages it to grow more foliage and the plant spreads wide.
Once the plant starts developing flowers and fruit, the more you prune them the more they will continue to grow during the growing season.
You can prune the leaves, flowers, and fruit that are dead or diseased. But you can also cut off healthy parts of the plant to encourage such growth.
I recommend not pruning more than 1/3rd of the plant at a time. Otherwise, the plant will be too stressed. If the foliage is less, it may not be able to produce enough food to grow well.
You can use a bypass pruner to do the pruning. This helps protect the plant from too much damage. The cut will be clean and the plant will heal much faster.
You also reduce the risk of bacterial or viral diseases infecting the plant when you use a sterilized bypass pruner.
14. Help the chili peppers to pollinate
The chili pepper is a self-pollinating plant which means that the flowers have both the male and female parts. The flowers are pollinated when insects like bees visit them and the pollen falls into the flower.
The flowers are also pollinated when there is a gentle wind that shakes them up so the pollen can fall inside the flower.
You can encourage the pollination yourself by gently shaking the chili pepper plant every day. You could even place a table fan that provides some gentle wind to help shake up the flowers.
You don’t need to do this for a lot of time. Just a few minutes every day is sufficient to help the flowers pollinate and encourage the development of chilies.
15. Harvest and store the chili peppers
You can harvest the chili peppers about 60 to 120 days after planting the seeds. This depends on the variety you are growing.
You can either harvest the chili peppers when they are green or leave them for a few more days and harvest them when they are red. The red chilies are hotter and have more flavor than the green ones.
You can harvest the chilies by using a bypass pruner to cut them off the plant. The chilies will store for a few weeks in the refrigerator.
Make sure to use gloves so you don’t touch the chilies when harvesting. They can be hot and your skin may be sensitive to it. Or you may touch your eyes and end up in a lot of pain.
Depending on the variety you are growing, you can store the chilies longer if you dry them out in the sun for a few days. Then you can keep them in a cool, dry place and they will last you for several months.
You can use fresh or dried chilies in your food. Or you can crush up the dried chilies and prepare chili flakes or powder out of them.

Fact Checked, Written, and Published by Kevin Rodrigues
Kevin is the founder of Gardening Mentor, a website that aims to teach people to grow their own food in a limited space. As a self-taught gardener, Kevin has spent several years growing plants and creating gardening content on the website. He is certified in Home Horticulture and Organic Gardening from Oregon State University. He has a Post Graduate Diploma in Horticulture and Landscape Gardening from Mumbai University.
Read more
